
It's the very final edition of the Schoolhouse Tunic Sew-Along!
So you've made a tunic/shirt/dress or you want to make one, but you want it to look different from everyone else's...what can you do?
There are lots of things you can do to bring variety to your pattern! Some we have already discussed in past posts, including personalizing the length of your garment, changing the neckline, and a couple of different sleeve options. Below I'm going to list some examples of things you can do to alter your pattern and how to go about it!
 |
| Source |
1. Make the front bodice piece a coordinating fabric - Cut the front bodice pieces out of that fabric. Construction remains the same.
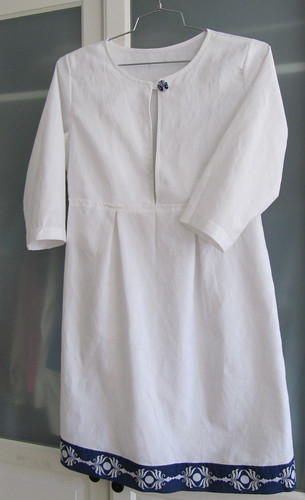 |
| Source |
2. Use trim along the bottom hemline and/or sleeves - Vintage trim could be really awesome for this, as well as some of the new trims that are coming out from popular designers such as AMH. If it's more of a ribbon type of trim then you can attach it with a top stitch.
 |
| Source |
3. Change up the pleats - This alteration is particularly useful if you've made a muslin or made the pattern once and the shape of the pleats doesn't suit your body shape. The two-pleat version that is in the pattern creates more of a rounded shape, while a single pleat would create more of an A-line shape. To do this, simply find the center of the front skirt piece and then trace the pleat from the back skirt piece.
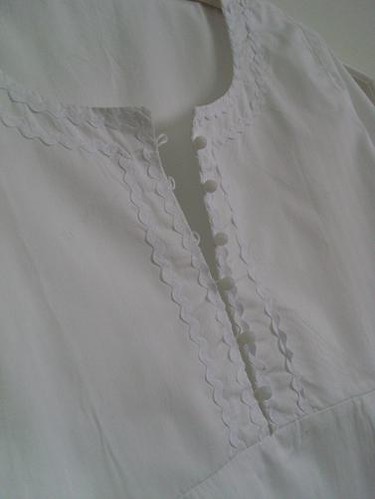 |
| Source |
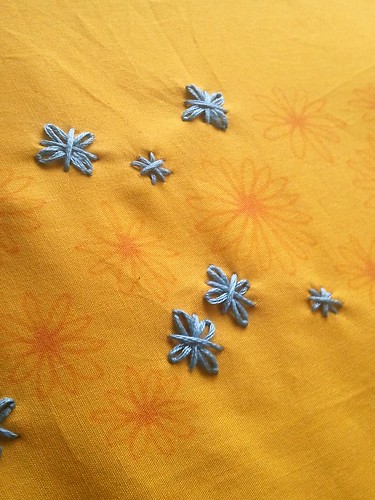
4. Add trim around the neckline - Be mindful of the size of the trim and that it will be up around your face. You could use trims like tiny pom-poms that have to be sewn in when sewing the front bodice pieces to the seams, because they will stick out, or trims like the ric-rac shown above that will be added to the front bodice pieces before sewing them to the placket pieces. Also, your choice of color, shape, and size of trim can have different effects on the finished garment. The white-on-white above is a very subtle effect.
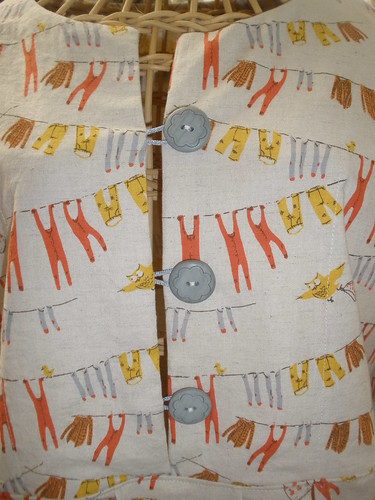 |
| Source |
5. Buttons! - The buttons will need to be installed like shown above, not like the buttons in a regular dress shirt. Well, unless you altered the pattern to create a placket. That's beyond the scope of this little post though. So you'll want to measure out button placement and make a mark on each side of the front bodice pieces. Make sure that the marks are where you want the buttons installed and not just on the edge of the fabric. Sew the button catches into the seams when sewing the front bodice pieces to the placket pieces. You can use elastic, ribbon, even fancy trim. Place the raw ends of the button catches so that they poke out of the seams, with the loops facing in. Make sure that your elastic/ribbon/trim is long enough to loop over the buttons.
6. Stitch up some of the V - If you don't like the look of buttons, but will want to keep the deep V a little more closed along the bodice, you could hand-stitch up the V to your desired opening point. I will probably taking this route on my own Schoolhouse Tunic.
I had fun doing this, and I hope that it encourages you to give making clothing a try, even if you're traditionally a quilter :)
Here is the link to my blog post about my Schoolhouse tunic. I appreciated the sew-along and had fun, but I have some major fit issues and need help making sure this garment is wearable. Any suggestions are much appreciated. Thanks! http://thecraftyroach.blogspot.com/
ReplyDeleteOoops, use this one. Accidentally didn't do the post-specific link above. http://thecraftyroach.blogspot.com/2012/11/schoolhouse-tunic-help.html
Delete