Showing posts with label hand-stitching. Show all posts

Friday, September 7, 2012

Free-for-all Friday

That title really explains this post. It's kind of all over the place, sewing-wise.


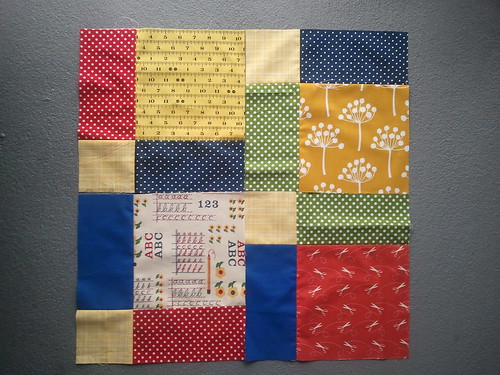
First up, the commissioned quilt using the American Jane ABC fabric. The customer requested a disappearing nine-patch. We sat down the other day and I gave lots of options for fun and interesting designs, and he picked the design from the quilt sitting on my couch. I'm not complaining exactly, as a disappearing nine-patch is about as easy as it comes, but from a creative aspect I'd have liked something with a little more challenge. That being said, I hate these four blocks. HATE. Obviously this was just one block that I cut up to see how it looks, so the same fabrics are right next to each other [soooo many polka dots], but I think I'm despising how "primary color" it looks.


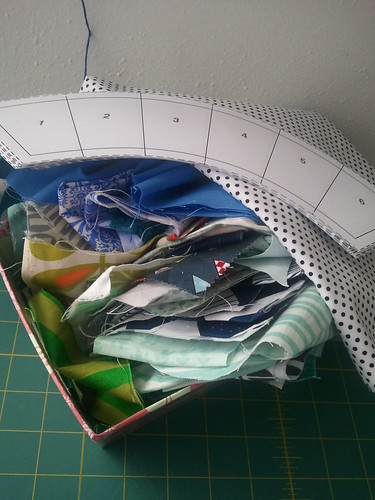
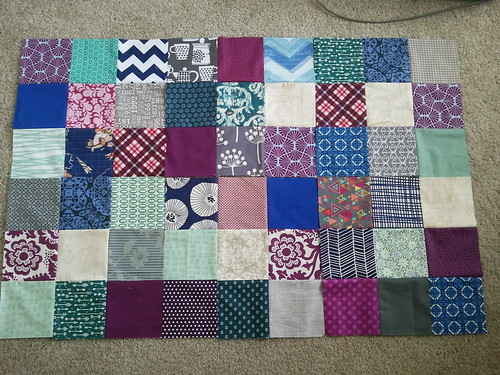
What's happening with the DWR this week? Nothing so far. My pile sits on my table, looking forlornly at me while I ignore it in favor of other more exciting things. Poor DWR. Hopefully I can work on it tonight as I have zero Friday night plans. 


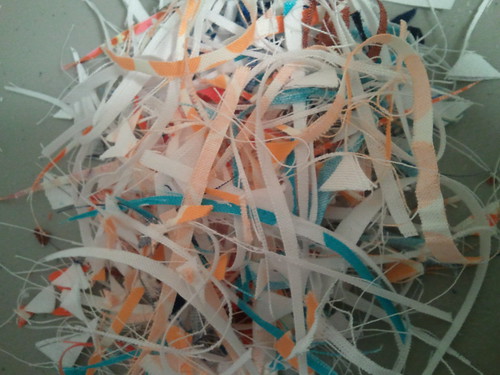
Hundreds of HSTs to be trimmed. And trimming is bad for my soul. Seriously. It kills me a little, so I can only do 20 or 30 at a time before it feels like my brain is oozing out of my skull. I felt that way about calculus back in the day too.


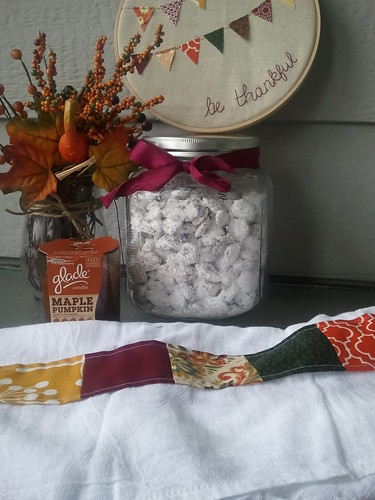
And finally, some autumn care packages. I love sending packages. If money was no worry I'd constantly send packages to friends. This is why I love Christmas so much. I love picking things out for people that I know/hope that they'll love, packaging it up all pretty, and then waiting in anticipation for them to receive it. Seriously, is it Christmas yet? Anyways, my closest friends have slowly been moving out of the state for bigger and better things, so I thought I'd celebrate the season by sending out some goodies to them all. Variations on this package will be heading to Atlanta, LA, Berkeley, and Raleigh!


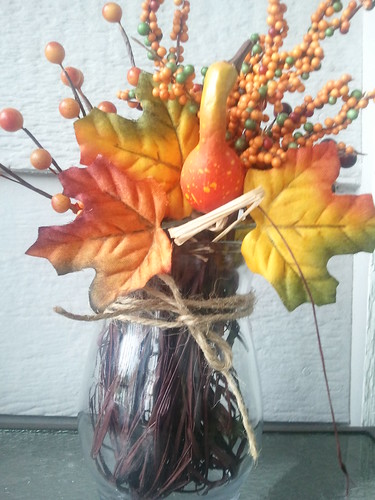
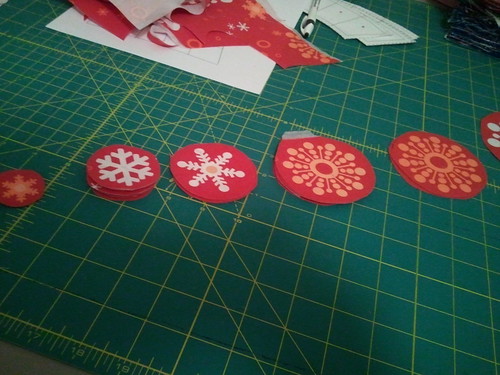
I hope I'm a florist in a future life. This is just some picks from the craft store [you often buy these to put in wreaths], some raffia to fill the jar, and a little twine to "tie" it all together. If you're not dying laughing at my wit...


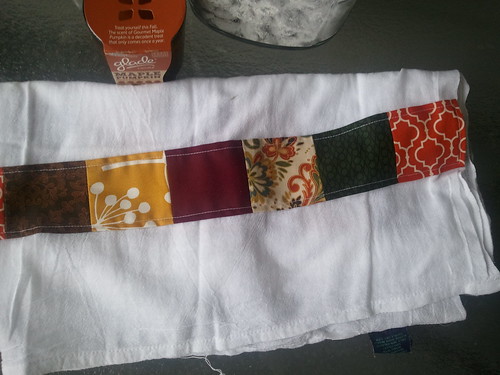
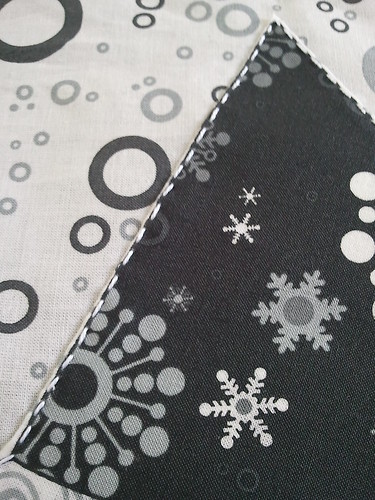
I bought a 4-pack of flour sack towels at Target for $4 and embellished each end with a strip of patchwork. Simple!


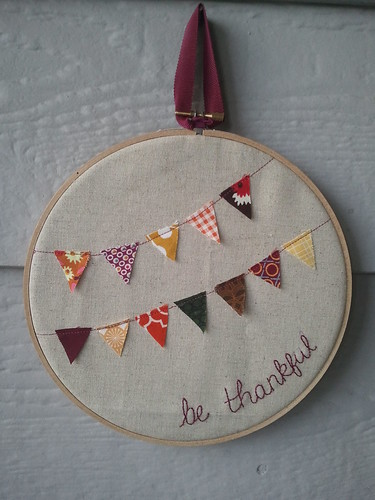
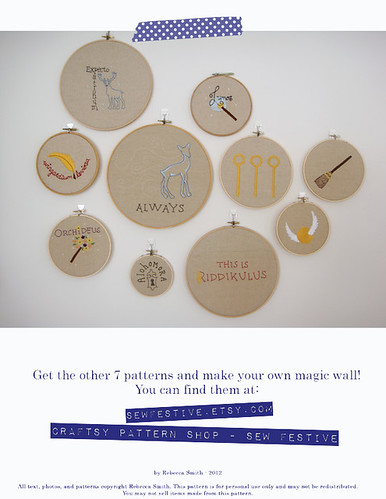
To round it all off I made some simple hoop wall art with teensy scraps of autumn-colored fabrics and a touch of hand embroidery on natural colored Essex. Which is perfect, since today is Handmade Parade day at There and Back!


Friday, August 10, 2012

My sewing machine was feeling so neglected!


Today I've planned to be extremely sewing-productive. I got up super early, gathered and made sustenance in the solid and liquid form, and mapped out my day at the machine.

I don't want to hand-stitch anything for at least two weeks. I love handwork, I do**. But if I had to guesstimate how much embroidery I've done over the past two weeks I'd say it's taken at least 24 hours. That's right. I've lost a WHOLE DAY to embroidery. Machine sewing, pleeasseee.


**Case in point: I could not be more pleased with all my Potter Patterns, and I love that they're hung right next to my sewing machine. And today's the last day you can get the 8-pattern bundle for $28!

This is what sewing at midnight looks like...

Except...I just embroidered a little bit for my Winterkist project [my day is next Wednesday! I'm a little obsessed with my project...]. Hey! If you did some embroidery or other handwork, you should show it off at There and Back's Handmade Parade! Be cool like me! :)

And this is what sewing at 1 am looks like...

Oh and I also sewed lots of nine-patches last night. I need 56 of those blocks for my queen-sized quilt. I didn't feel like moving my furniture to lay out the quilt, so I chose the method of just pulling random squares and sewing with abandon. Ok, maybe not abandon, because as you can see I laid them out a bit. Each stack has multiple prints of the same color within it. I just wanted to make sure that I didn't end up with 10 squares of that Washi print with the last nine-patch or something horrific like that.


I've never done that kind of sewing before, because I tend to like a balanced randomness [I think that's an oxymoron?]. But I sewed after I watched Project Runway, and decided to be a wild quilter [an example of what non-quilters think is an oxymoron, ha!].

Um, only a million more blocks to sew. Did I mention this needs to be finished by next week?

Wednesday, August 8, 2012

Potter Pattern Reveal, Day 2!


We're at Day 2 of the Potter Pattern reveals [check out Day 1 here]! Plus they all go on sale today, so check out the information at the bottom for details.

Riddikulus:


This is the simplest pattern in the batch and is an excellent pattern to start with if it's your first time embroidering, as it only requires backstitch and a tiny bit of satin stitch! In fact, it was Jessica's first time embroidering! Look at her even stitching on the lettering! Crazy.

Quidditch:


This pattern contains a broomstick, Quidditch hoops, and a Snitch! You can stitch them together or separately. I absolutely loveeee the texture of all the motifs in this pattern. But I don't love how the wings of my Snitch look a little messy; I started to get antsy after days and days of stitching Potter Patterns. Jennifer tested this pattern for me, and she chose the broomstick...considering she just moved to Maui and also tested a quilt pattern for someone else, she's pretty much Superwoman right now. And how cute is her broomstick?! I love that she added extra twigs at the bottom to give it a little more fullness!


Expecto Patronum:


Beth's daughters are Harry Potter fans and they helped her pick the pattern to test! If you're a fan of the stories then you know the significance of this spell, but I love the safety and reassurance of the spell in the books, and hopefully you can feel some of that magic when you stitch this up! Next time I think I'll make my own Patronus with smaller French Knot eyeballs, so he doesn't have a perpetually surprised look on his face, ha! :)

Always:


This is my favorite pattern. I cry every time I reach this part in the books, without fail, despite the fact that I've read all the books probably hundreds of times. I worked the longest on this pattern because I wanted to convey a really ethereal magic; I hope you find it as beautiful as I do! This pattern finishes at about 14" across, so it's at least double the size of all the other patterns. As such, I asked two people to test the pattern. Katie's is the top and Fiona's is the bottom. Katie named her doe Herman! I love how she individualized it. And Fiona added some seed beads to her version, which I LOVE. Plus she's using her stitchery on a memory box, as she doesn't have HP-aged kids anymore. It's great that this can be used for a more mainstream purpose!

I want to thank all of my fabulous testers! You all were invaluable in streamlining the patterns so that anyone who purchases them can be assured of a quality product!


All 8 patterns are now on sale at my Etsy shop and my Craftsy Pattern Shop! I'm celebrating the release with a special sale of a bundle of all the patterns. The bundle is $28 from today through Friday August 10th! That's a total of $2.80 per pattern [as the Quidditch set is 3 patterns in one!]. The Etsy shop and Craftsy Pattern shop will also have each pattern listed separately for sale if you only want a couple. I will also be selling completed hoops that are stitched-to-order with the option for custom colors on some patterns.


I'm so excited and happy to share my Harry Potter and stitching love with everyone! :)

Tuesday, August 7, 2012

Potter Pattern Reveal, Day 1!


I'm so excited to share these with you! These Potter Patterns have been my biggest behind-the-scenes project all summer, and I have spent countless hours drawing, stitching, designing, and working on the computer to bring a clean, professional product to you all!

I've decided I was utterly crazy to work on 8 patterns all at once because it was a huge undertaking. And while I always knew that making patterns of any kind took a long time, I have such respect for those who do it for a living, especially after this whole experience.

I still want to talk more about my pattern-making experience, but I'll save that for another day. Until then, here's the first 4 of 8 patterns that will be available for sale tomorrow!


Each pattern is anywhere from 10-14 pages and includes pictures of my sample on the pattern cover and in a hoop on the wall, supply list, tips for tracing your pattern, pattern notes, ideas for individualizing your pattern, suggested DMC floss colors, stitch guide, black and white pattern for tracing, reverse black and white pattern for iron-on transfer, and color pattern with recommended stitches.

Orchideus:


My favorite thing about this pattern is that you could totally use it even if you're not a Harry Potter fan! Those bunches of flowers would look great on all sorts of things :) Jenni stitched this up for me and I have to show two pictures from her because that second one is probably the most perfect detail embroidery shot I've ever seen!

Wingardium Leviosa: 


Stephanie tested this pattern for me, and she was invaluable in making some extra notes in the pattern to make it easier for you all to stitch! Plus how clean and fantastic does her embroidery look?! I did change some things after she stitched up her test pattern, so you'll notice that her feather has a stem stitch outline, but after some careful consideration I switched the pattern up so that there is no outline. Of course you can still choose to outline the feather, but I like the more ragged look of no outline...somehow it's more "feathery" to me.

Lumos:


Lumos was one of the first patterns that I came up with last year, but it has evolved over the year to the current pattern. Rebekah tested this for me, and look, she's already even got it sewn into a block. She told me she's thinking about making it into a pouch. This is another pattern that alerted me to the fact that my original pattern drawings might be a little confusing, which is why her radiating blue portion is lines instead of satin stitch like the pattern cover. I still think it looks great though! Plus, um, hellooo French Knot pro! If you want to perfect your French Knots, this is the pattern for you!

Alohomora:


This pattern is excellent if you're just getting into embroidery. It's short and sweet but helps you build some great embroidery skills including stem stitch, backstitch, satin stitch, and a few French Knots! Colby stitched this up for me and look how great it looks! How does she get all the wrinkles out?! No matter how much steam I use I cannot get the most stubborn hoop wrinkles out.


Come back tomorrow for the other 4 patterns, plus the information on the introductory pattern bundle! All patterns will go on sale tomorrow :)

Monday, July 23, 2012

Christmas in July - Poinsettia Pins


Aw, we're at our last Christmas in July tutorial! Luckily, we're ending the tutorial fun with a great one by Jennifer! She makes all sorts of fun stuff and has been running a Follower Friday feature on her blog to highlight some of the great quilters out there. I'm trying to not hate her because she just moved to Maui this past week. Right?! I've been to Oahu twice so I'm absolutely green with envy because I know just how awesome it is. Sigh. I suppose I won't hold it against her because I also love this afternoon's project...
________________________________________________________________________

Hi all! I'm Jennifer from Knotted-Thread. I'm so exacted to be a part of this Christmas in July series! When Rebecca asked me to be a part of it I immediately thought of a family favorite.

Poinsettia's!

Materials
- red and green felt
- gold seed beads
- red metallic dmc floss
- dark green thread
- poinsettia templates
- needle
- scissors
- large pin (optional)

----------------------------------------------------------------

Start out by cutting out the template pieces, you should have one of each flower part and one green part. 


Take your 2 flower pieces and place them so the petals lay between each other. 


Using 2 strands of your metallic red floss, we're going to stitch and make the veins of the petals. I typically start with a top petal and move in a clockwise motion stitching the petals - that way the stitching goes through both pieces and keeps them together (don't worry about how the back looks with the threads, it will be covered later!)


Once you're finished tie off your end and get your green leaf piece. Position it however you like. 


Now, if you're making a pin, 
position it so the side that lays flat (doesn't open) is against the green
we will be using this side to anchor the pin to the poinsettia


I'll be using white thread so you can see what i'm doing
I recommend using green so it blends in better.

Start by knotting your thread at the end. Come up the green side and made sure the knot is between the leaves and petals pieces.
Go back down and through all 3 pieces to the front of the flower


Add a gold seed bead, and go back down through all three, close to where you came up on the front
Try and stay as close to the pin as you can, and as close to center of the flower to add your seed beads


Continue this process until you're happy with the center of your flower
I typically make a cluster of 7 seed beads


When you're finished, tie it off!

At this point, if you don't like how the back looks, add a piece of green felt between the pin prongs
to cover it up.


Alternative Options:
Poinsettia garland 
(add the beads the same way, but without the pin then string them together by putting the string sandwiched between 2 green leaf pieces, anchoring with hot glue)

Holiday gift decorations
bouquet of poinsettia


Be careful, they're addicting!
if you have any questions, feel free to ask.
I'd love to see picture if anyone should try these!

_____________________________________________________________________________________

How perfect does that poinsettia pin look on her white coat?! And for those who also wondered, the instant I read through the post I had to email her back and asked if she put on a winter coat and took a picture in the dead of summer. But nope, she didn't! And now she doesn't need that coat in Maui. Luckily these poinsettias would look adorable as a garland or pinned to a bag too!

I will absolutely be making these, as I have a whole slew of fake poinsettia plants that I put out at the holidays; it's a great way to be festive on a budget!

Thanks so much for all the great ladies who created tutorials over the past month! I will be doing a round-up post in a few days so you can access all the tutorials in the same place. Make sure you checked out Katie's project from earlier today, and then get creating. The linky opens next Monday, July 30th for you to show off your completed holiday projects!