
Eep! Sorry for the delay in today's post! Mondays...ew.
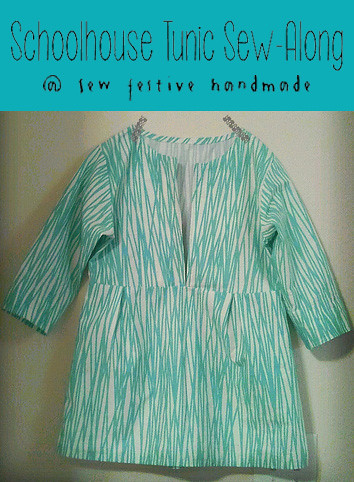
But hey! Welcome to the final week of sewing on your Schoolhouse Tunic! Today is all about finishing the hem and sleeves.
First we'll tackle the hemline:
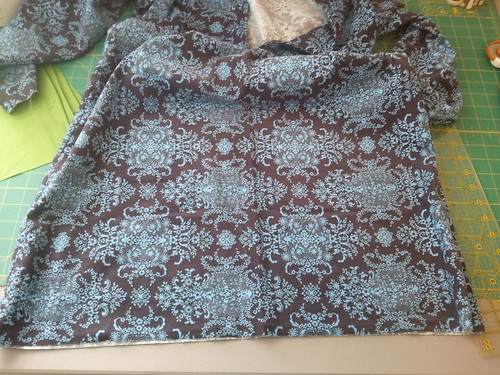
I trimmed my hemline by about 6 inches, but I also added a ton of length at the beginning. Make sure you try your dress/tunic/shirt on so you can decide if you like the length! I actually had Stephen pin my dress at the length that I wanted it to be at [a little below mid-thigh] because I couldn't pin accurately myself. So you might need to enlist a friend. Also make sure that your hemline is even, so you might have to trim a little bit at the bottom.

Fold your hemline up by 1/4" and press.

Fold over again to your desired hem length and press. I personally like a deep hem, but you could certainly trim it so that you fold over 1/4" and then another 1/4". It's personal preference :) Hold your dress/tunic/shirt up to make sure the hem is even before stitching.
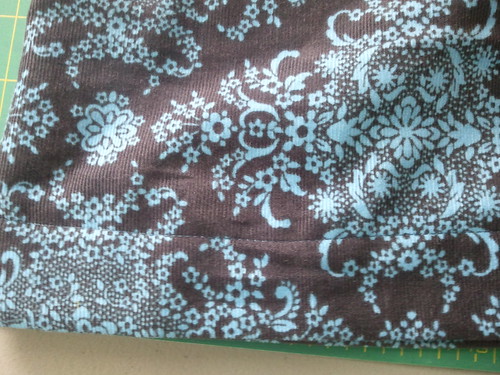
Stitch down your hemline, making sure that you change out your thread if necessary to match all your other top-stitching.
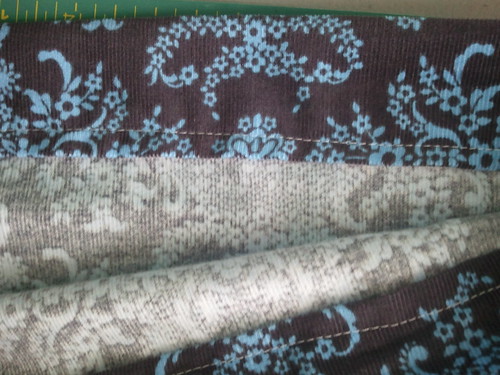
This is what mine looks like on the inside!
And now for sleeves:
I actually don't like elastic at the sleeves at all. It's just not for me. So you'll have to follow the pattern instructions if you'd like to do them that way. This is how I've made all the sleeves on my previous versions. I've simply turned the unfinished edge of the sleeve up 1/4" and pressed, then turned it up again to create that wide cuff, and pressed again. Then I stitched it down. This only works if both sides of your fabric is the same!
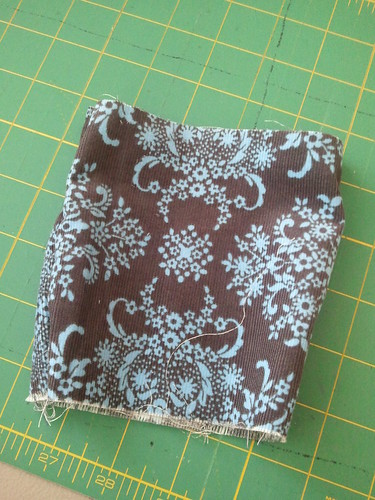
The Amy Butler corduroy that I'm using is not the same on both sides, sadly. To make the same sort of cuffed look as above I had to get a little creative. Take a length of your fabric and sew it into a tube, creating French seams on the inside as mentioned in previous posts. You want to make sure that it is the same width or a little smaller than your original sleeve opening that is attached to your garment. I based the length of my cuff piece on the fact that I want long sleeves, and that's how long I needed it to be to accomplish that. There's no exact science, just go with your gut. Always make it longer if you're nervous and you can trim it down.
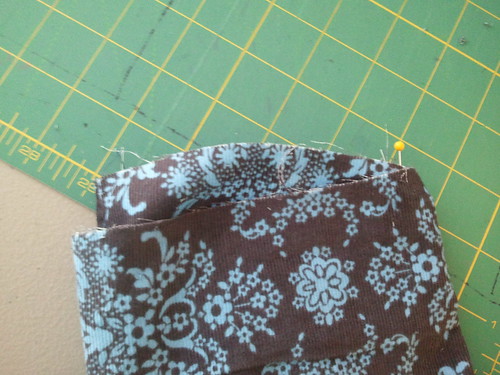
Place your newly sewn cuff inside of your sleeve opening, with the right side of the cuff facing the wrong side of the sleeve. Pin one of the seams to the seam of the sleeve. Sew around the edge with a 1/4" seam allowance. This part is a little tricky because your sleeve most likely doesn't fit around the arm of your machine, so you just have to sew slowly and make sure you're not catching anything but the two pieces you want to be sewing together.
I don't have a picture of the next step, but you'll flip the added cuff piece out over the sleeve and sew with 1/2" seam allowance to create a French seam on the cuff.

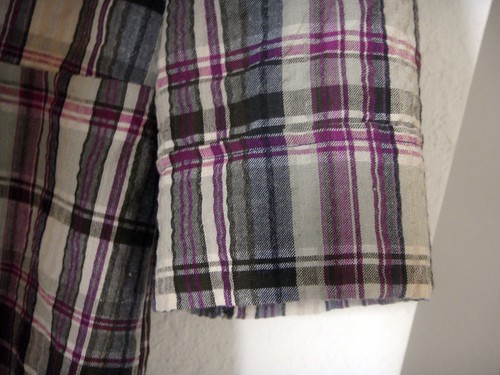
As you can see in the above picture, my right sleeve is completed with the cuff turned up. The left sleeve was just hemmed to see if I liked it at that length. I'll probably wait until after I wear it a few times to see if I want to top-stitch the cuff down.
And now you really should be done! How exciting!
I know this wasn't on the original sew-along schedule, but next week is when I'll be showing some things you can do with the pattern to change it up. Plus make sure you finish your tunic so that you can show it off at next week's link-up! We all want to give you giant virtual pats on the back for tackling clothing!
No comments:
Post a Comment
Messages from friends :)