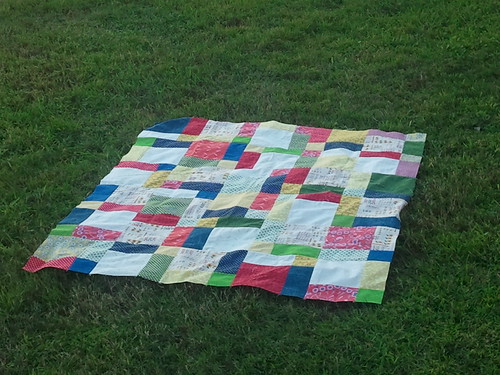
First things first! Birthday-palooza-extravaganza-shenanigans winner? Kelsey from Kelsey Sews! So now I can add her custom mini to my 100 Day Hustle list that she's hosting until the end of 2012! :)
Wednesday, October 31, 2012
Winner winner chicken dinner. And a quilt.
Tuesday, October 30, 2012
Blogger's Quilt Festival - Fall 2012
So everyone knows that it's the Blogger's Quilt Festival right now. And I've been thinking about it for a few days.
I was sort of bummed out because I don't feel like I have too many large quilts to choose from this year. Which is just silly, because there's this, this, this, this, and the commissioned top I'm quilting right now. And for some reason I felt like I just had to show something that was a throw sized quilt.
But when I get down to it, one of my favorite quilts of the year so far was a mini quilt!
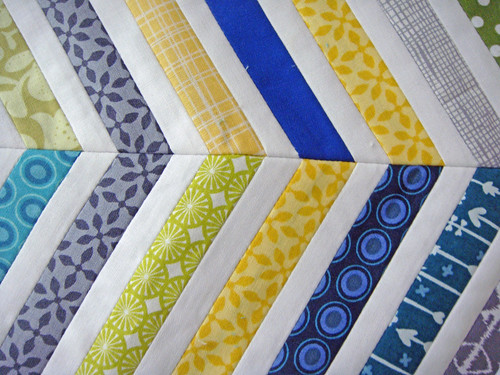
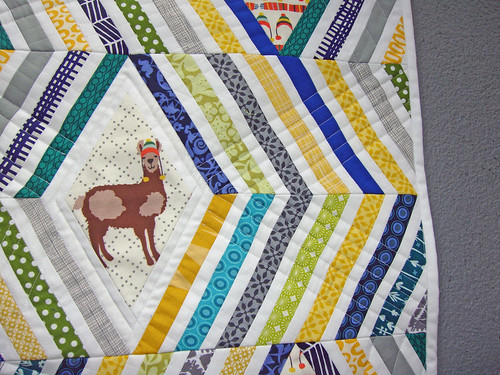
I love my Llamalicious mini that I made for Jessica in our personal swap, and I love that I made it work with piecing those tiny strips and all those diagonals and all those seams. I really love how the rows that create a chevron shape meet at the seams, but the rows that go the same way are off -- it creates a wonderful sort of energy-wave type look.
Laurie Wisbrun's fabric is hilarious and delightful and I'm so glad that I splurged to get some. I can't wait to recreate this exact mini into a pillow for my couch!
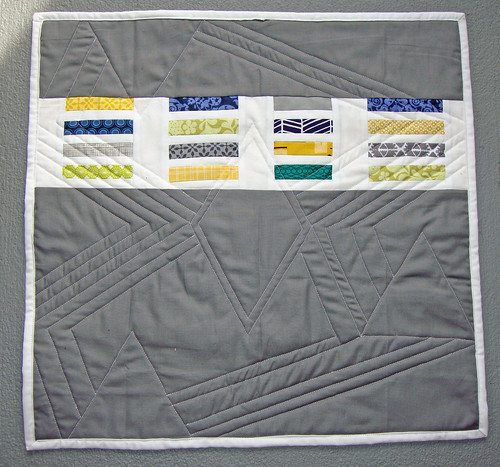
Plus, the back shows off the leftover strips and the quilting...which reminds me of the Pink Floyd logo! And what's not good about Pink Floyd?!!
It was nice to remember that quilts don't have to be big to be an accomplishment and they certainly don't have to be big for you to love them.
BUT, if you do love big quilts, and you wish this was a pattern for a big quilt, it's coming! [And no, it's not the pattern referenced in my birthday-palooza post]. I've been working diligently behind the scenes to turn my original concept from a mini into a quilt pattern that showcases a fussy-cut focal fabric in the diamond and triangles, with coordinating fabric as the strips. Coming to a computer screen near you soon [hopefully]!
Quilt Stats
Size: 16x20"
Category: Doll/Mini or Scrap Quilt
Monday, October 29, 2012
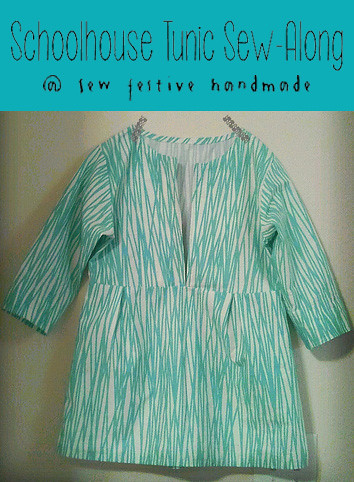
Schoolhouse Tunic Sew-Along: Sleeves and Hem
Eep! Sorry for the delay in today's post! Mondays...ew.
But hey! Welcome to the final week of sewing on your Schoolhouse Tunic! Today is all about finishing the hem and sleeves.
First we'll tackle the hemline:
I trimmed my hemline by about 6 inches, but I also added a ton of length at the beginning. Make sure you try your dress/tunic/shirt on so you can decide if you like the length! I actually had Stephen pin my dress at the length that I wanted it to be at [a little below mid-thigh] because I couldn't pin accurately myself. So you might need to enlist a friend. Also make sure that your hemline is even, so you might have to trim a little bit at the bottom.
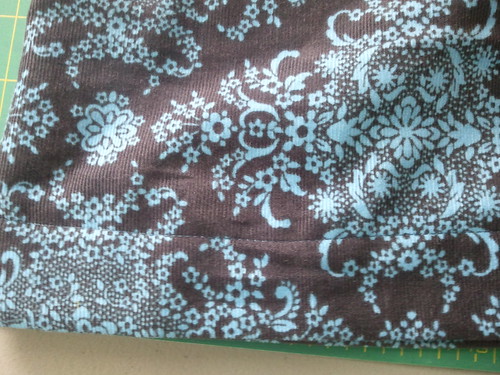
Fold your hemline up by 1/4" and press.
Fold over again to your desired hem length and press. I personally like a deep hem, but you could certainly trim it so that you fold over 1/4" and then another 1/4". It's personal preference :) Hold your dress/tunic/shirt up to make sure the hem is even before stitching.
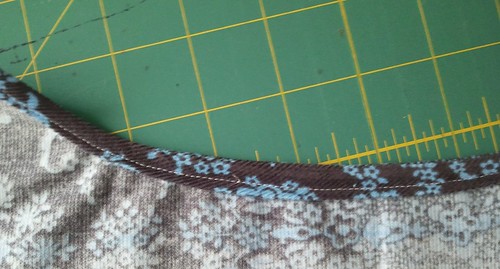
Stitch down your hemline, making sure that you change out your thread if necessary to match all your other top-stitching.
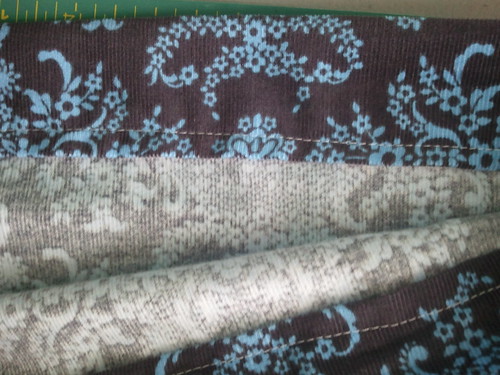
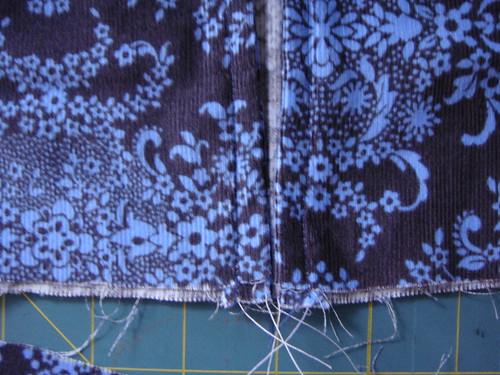
This is what mine looks like on the inside!
And now for sleeves:
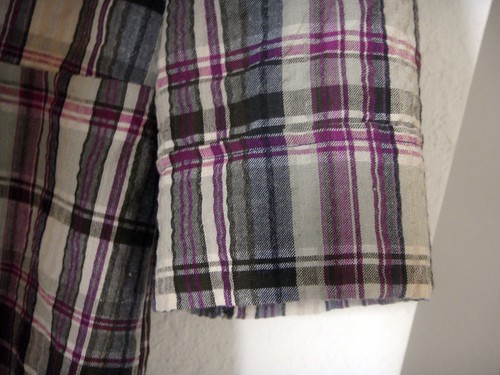
I actually don't like elastic at the sleeves at all. It's just not for me. So you'll have to follow the pattern instructions if you'd like to do them that way. This is how I've made all the sleeves on my previous versions. I've simply turned the unfinished edge of the sleeve up 1/4" and pressed, then turned it up again to create that wide cuff, and pressed again. Then I stitched it down. This only works if both sides of your fabric is the same!
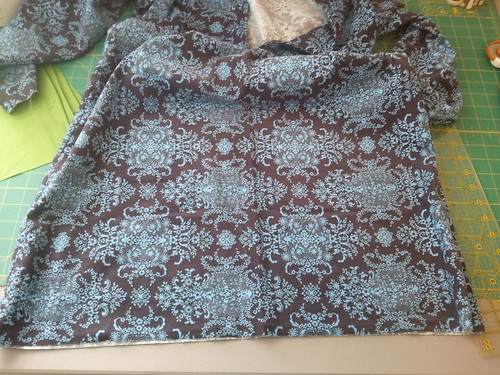
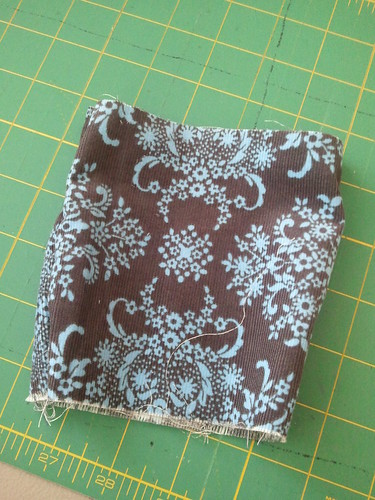
The Amy Butler corduroy that I'm using is not the same on both sides, sadly. To make the same sort of cuffed look as above I had to get a little creative. Take a length of your fabric and sew it into a tube, creating French seams on the inside as mentioned in previous posts. You want to make sure that it is the same width or a little smaller than your original sleeve opening that is attached to your garment. I based the length of my cuff piece on the fact that I want long sleeves, and that's how long I needed it to be to accomplish that. There's no exact science, just go with your gut. Always make it longer if you're nervous and you can trim it down.
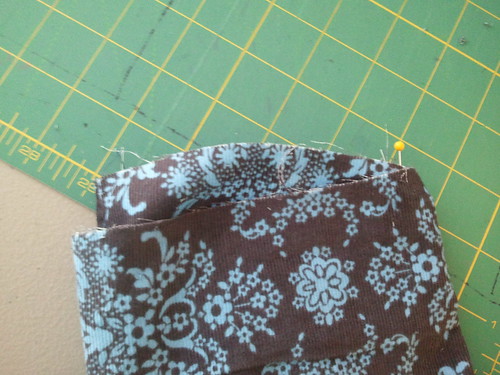
Place your newly sewn cuff inside of your sleeve opening, with the right side of the cuff facing the wrong side of the sleeve. Pin one of the seams to the seam of the sleeve. Sew around the edge with a 1/4" seam allowance. This part is a little tricky because your sleeve most likely doesn't fit around the arm of your machine, so you just have to sew slowly and make sure you're not catching anything but the two pieces you want to be sewing together.
I don't have a picture of the next step, but you'll flip the added cuff piece out over the sleeve and sew with 1/2" seam allowance to create a French seam on the cuff.
As you can see in the above picture, my right sleeve is completed with the cuff turned up. The left sleeve was just hemmed to see if I liked it at that length. I'll probably wait until after I wear it a few times to see if I want to top-stitch the cuff down.
And now you really should be done! How exciting!
I know this wasn't on the original sew-along schedule, but next week is when I'll be showing some things you can do with the pattern to change it up. Plus make sure you finish your tunic so that you can show it off at next week's link-up! We all want to give you giant virtual pats on the back for tackling clothing!
Thursday, October 25, 2012
Happy Thursday!
Ok, so I saw a Burger King commercial last night that was
advertising their gingerbread milkshake. And then this morning as I was
getting coffee at McDonald's I saw that they've already brought out
their eggnog milkshake.
WHAT IS WRONG WITH THE WORLD?
Seriously. I loooove Christmas. Love it. But it's not even
Halloween, people. Calm your bones. Start shopping for presents, but
hold off on the holiday food until it's actually been a holiday.
But I'm all about aligning with the universe, so what did I do?
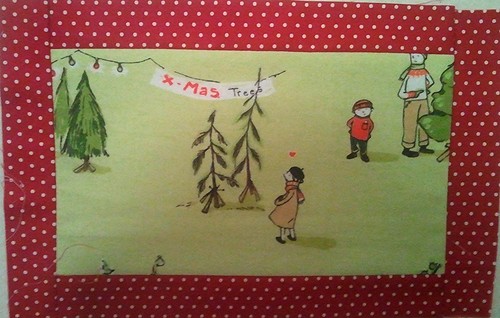
Started a Christmas pillow. You can't tell, but it's right above the
Halloween pillow that I've given up on for this year. It's a piece of
Heather Ross flannel jammies that I got from Sew Deerly Loved last year
and have been holding onto in excitement. I have some candycane striped
flannel that I debated using as a simple frame around the HR print,
thinking it would be super soft, but I wanted to make it fancier than
that.
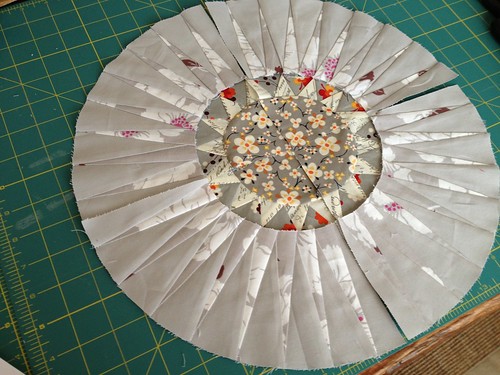 |
| Spikes like this! I looooveee this pillow! |
Enter: paper pieces spikes that look something like the spikes that normally exist on NY Beauty blocks. I'm imagining that they'll look like skinny abstract trees?
As long as we're talking about Christmas, I've marked my custom gnoma advent calendar down to $50 through November 5th so you can start
preparing. I guarantee delivery by December 1st as long as you place
your order before November 23rd.
And don't forget that there's Potter Patterns and custom Potter Pattern hoops and fabric? must.stash patterns and minis as well!
Plus, as long as we're remembering things, I'm giving away a mini
quilt of my new secret pattern for my one year blog-a-palooza, so leave a comment over here if you haven't done so already! Giveaway winner will be chosen tomorrow :)
Tomorrow I only have to work until noon, and I'm so excited to get some afternoon sewing done on a weekday! TGIF to all.
Tuesday, October 23, 2012
Sartorial Saturday - sort of...
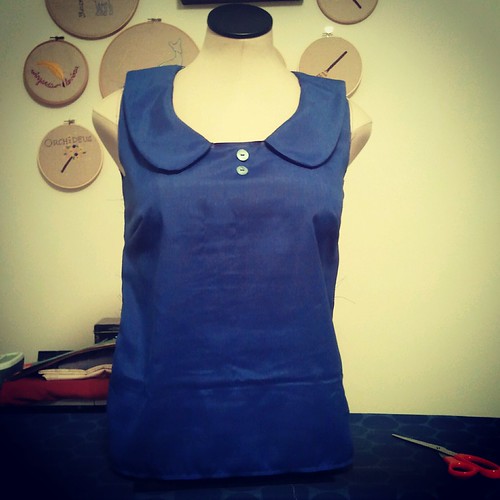
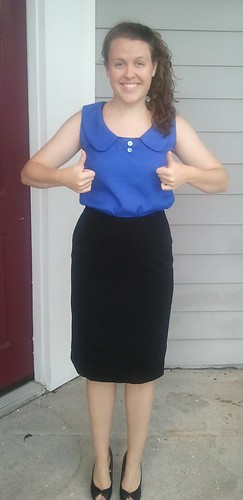
...because sometimes you decide on Sunday at 9 pm that you just don't want to wear any of your current clothes to work the next day. And so you sew a new shirt. And because you're so excited that you just can't wait until Saturday to share.
Which is how I feel about my new Banksia top.
See?!
*Linked with Fabric Tuesday at Quilt Story! :)
Sunday, October 21, 2012
Schoolhouse Tunic Sew-Along: Make Skirt and Attach to Bodice
Woo! We're at our 3rd installment in the Sew Liberated Schoolhouse Tunic Sew-Along. Things really start to pick up this week. Plus, if you'll remember, all the hard sewing was last week!
So this week we should have a completed bodice [minus finishing the ends of the sleeves] on our table. The only pieces that we should be left with are the Skirt Front and Skirt Back. Put the bodice to the side for a bit as we will first be working with the skirt pattern pieces.
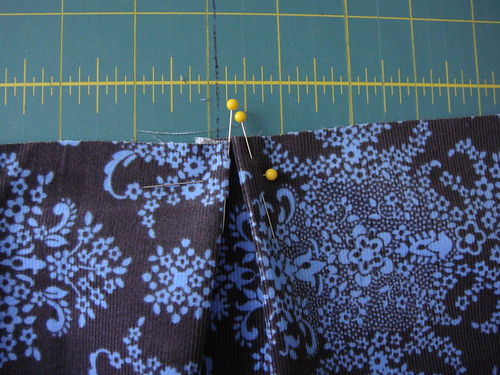
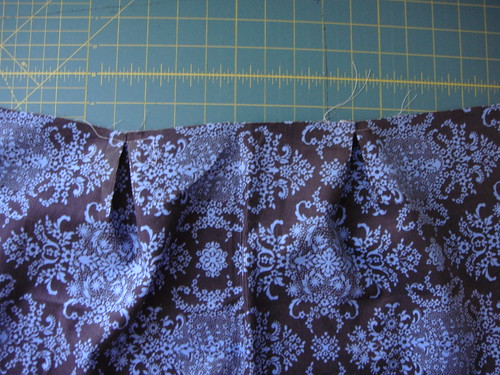
The first step today is to make the pleats in both skirt pieces. Take the skirt front and place pins in the markings you made from the pattern pieces. This will help you know where the marks are from the right side of the fabric.
Fold the left and right pin in toward the center pin and sew 1/4" in just to hold the pleat in place. Then iron the pleat for that extra crisp.
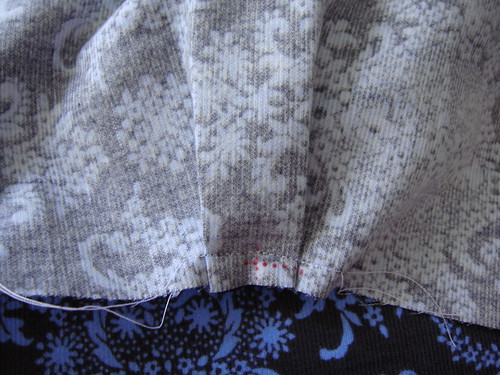
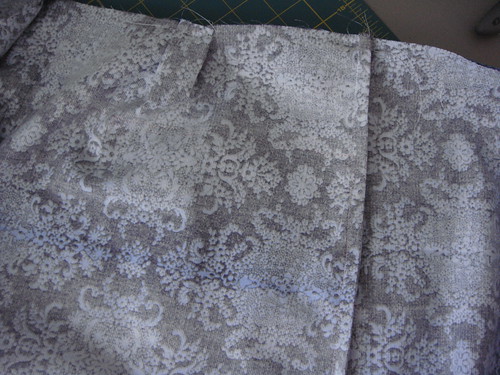
The box pleat looks like this from the back.
Repeat for the other side of the front skirt piece. You know have two box pleats.
The single pleat on the back skirt piece is created and sewed the same way.
Now that the pleats are all taken care of we can sew the skirt front and back pieces together. This seam would be a great seam to try out a French seam if you haven't done so before by following the same instructions as listed last week. You can of course still sew the seam right sides together and then zigzag stitch or pink the edges. Or use a serger if you're fancy :)
At this point you have a completed bodice and a completed skirt. Now we get to combine them!
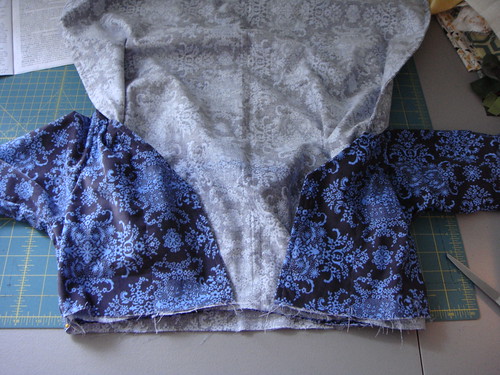
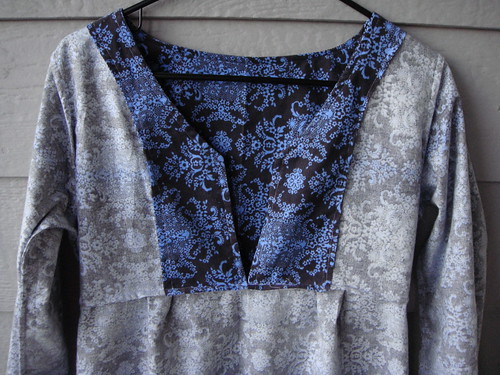
The pattern instructs you to turn the bodice inside out and leave the skirt right side out to sew them together. These are the instructions you should follow if you are finishing your seams with pinking shears, zigzag stitch, or a serger. If you are finishing your tunic with French seams, follow the instructions below.
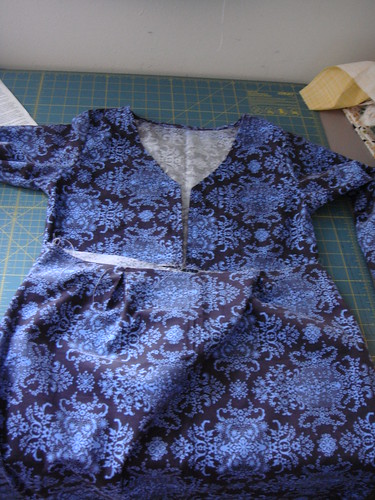
You're going to switch up Meg's instructions for a French seam and put the skirt wrong side out inside of the bodice, which you leave right side facing out. [FYI, this is what it looks like if you follow the pattern instructions, but the bodice will be inside out and the skirt will be right side out. But they'll be in this position still.]
You want the bottom of your placket to touch like shown above.
Pin the side seams together, with the seam pressed toward the back skirt piece. I don't normally pin when I sew, but I recommend actually pinning your skirt piece all the way around to the bodice to make sure that they fit together with the placket touching. If it overlaps a little bit that's ok, but if it doesn't meet at all then that's a problem. That's actually what happened with my tunic, and it just means that your skirt is bigger around than the bodice. To fix it I simply made my pleats a little bit bigger by moving the 2 outer pins out by about 1/4" and then doing the same on the back pleat.
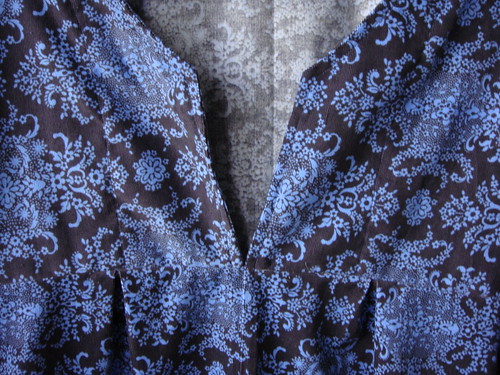
Once you've sewed that seam then you will turn the whole clothing item inside out, press the seam line flat, and then stitch again for the French seam.
Now sit back and admire your work! Eee! Try it on! Celebrate!
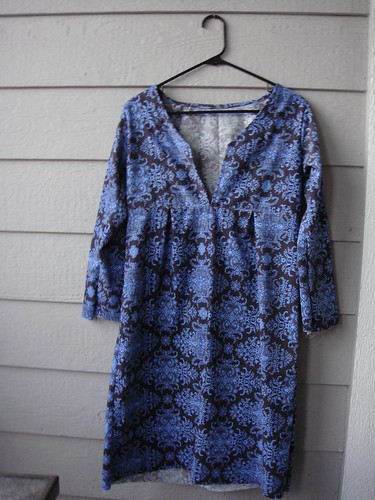
Are you a little horrified upon sewing your skirt and bodice together and feeling a little concerned at how large it seems? Well hey, check out the mu-mu that I ended up sewing. It is a little disconcerting at first, especially if you're using to wearing really fitted clothes, but remember that this shirt/tunic/dress doesn't have any closures on it, and therefore has to be loose enough to be pulled over your head. So try it on before you freak out.
See, not too terrible. It is a smidge looser than I anticipated, but I am planning for this to be a winter dress, so I'm mulling over whether I want to leave room for long sleeves underneath or something like that. Observant readers will notice that my dress is actually much longer and with long sleeves. After seeing the fabric pattern on myself and realizing that I looked like I was wearing a nightgown I pinned up the hem and the sleeves to be more of a mini dress to be worn with tights. I'm embracing a 60's vibe.
Also, my boyfriend received strict instructions that he needs to improve drastically in his photography, or at least be able to take a photo in focus, or else he will be replaced for a boy who can hold a camera steady ;)
These are a few of my favorite things [from the past week]
My friend sent me this cute skeleton card earlier this week and it became an office decoration!
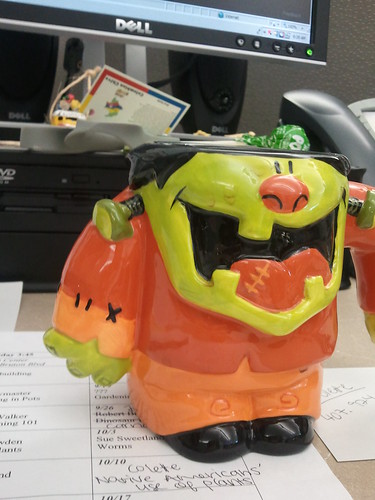
Mr. Skeleton is really good friends with this guy. Because if you're going to drink a lot of coffee every day, you need some fun mugs :)
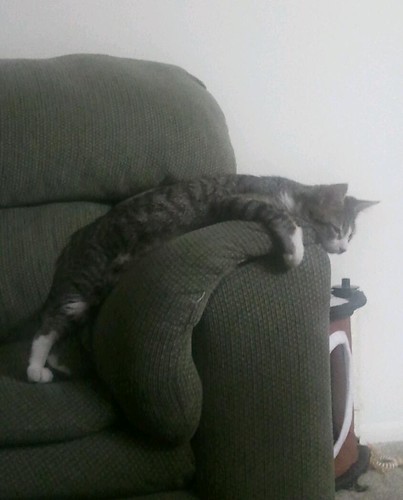
My kitten is finally doing better! Now we just need to get him to gain some weight. And to stop being so tired that he can't even get all the way up on the arm of the couch before he falls asleep.
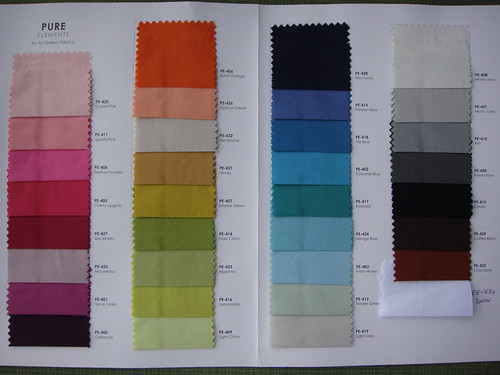
Received an Art Gallery Pure Elements card from Pat Bravo herself! She was kind enough to send it to help me choose a solid for a project that won't be revealed until next summer!
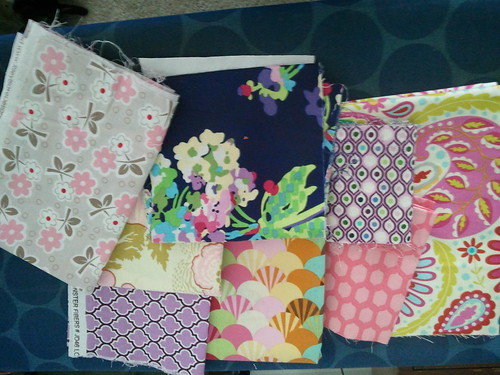
A Hawthorne Threads scrap pack! I would have never in a million years chosen any of these fabrics on my own, but they're good to have for more variety in my projects.
Thursday, October 18, 2012
When Bee Blocks Go Bad: A Halloween Horror Story
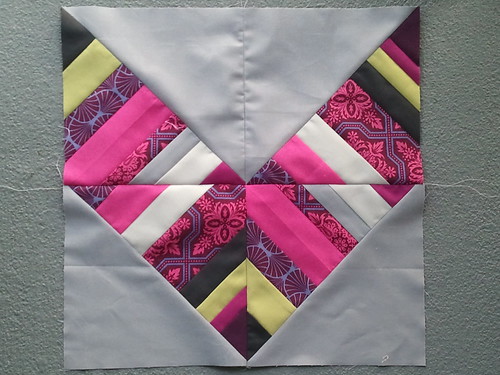
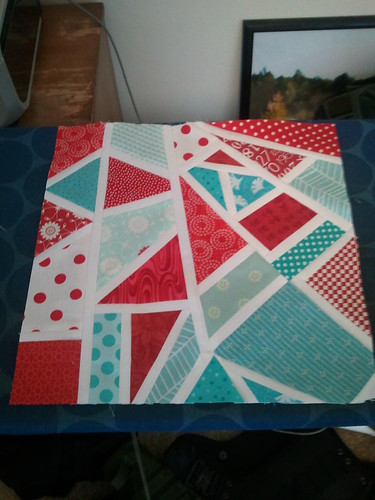
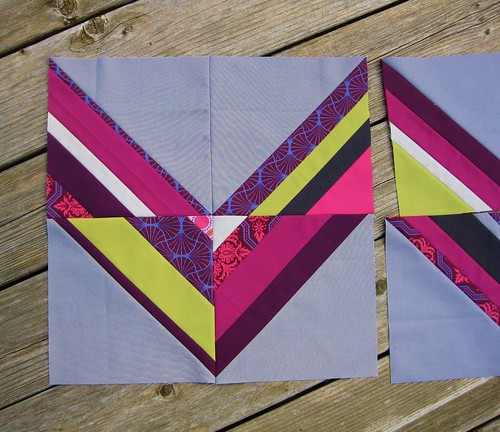
This looks like a perfectly delightful bee block, right?
I was pleased as punch that I sat down and sewed on my bee obligations, because those have been sitting to the side in favor of some other sewing obligations. And oh yeah, it's not September anymore...
And then I'm uploading everything to Flickr the other morning and posting the picture in our group, when I had the absolute worst sinking feeling in the world.
 |
| Charlotte's beautiful and correct block! |
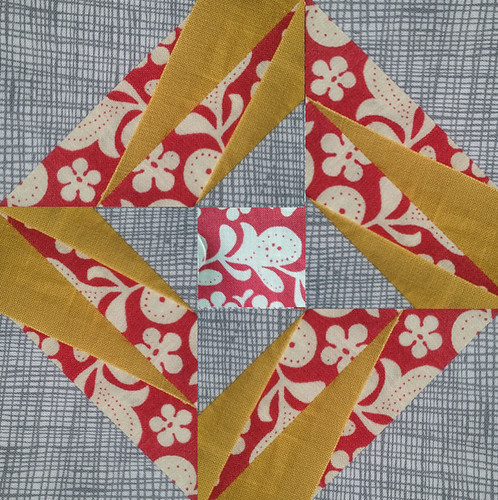
THIS is what the block is supposed to look like.
The worst part? I had the instructions next to me the entire time, but when it came time to turn the strip pieced block into HSTs I was all like "Oh, I know how to make a HST". I love when quilting teaches me life lessons...
Luckily Charlotte is like the nicest person in the world and said to send it anyways since she wants to make the back into a design that can fold over when on the bed.
I'm still annoyed with myself.
[PS, I adore the color scheme, don't you?!]
Wednesday, October 17, 2012
Productive week!
I really buckled down this past weekend and I'm SO glad I did. It felt really good to sew for a while!
What did I accomplish, you might ask?
There was the Schoolhouse Tunic sewing in order to keep ahead of the sew-along. And I finally got pictures up! There's only like 3 missing, but I'm getting those last ones up after this post goes live. Apologies again for all the problems this week!
I'm finding that the fit is different with the Amy Butler corduroy that I'm using, so I had to go back and re-sew the shoulder seams and sleeves to accommodate the fact that the seams are bulkier with that fabric. I love to re-sew things, said no one ever.
I made a simple envelope closure for the Hungry Caterpillar pillow and found a new pillow form for it just living in my sewing room closet [hello serendipity]. That goes in the commissioned items pile! One item marked off my 100 Day Hustle list!
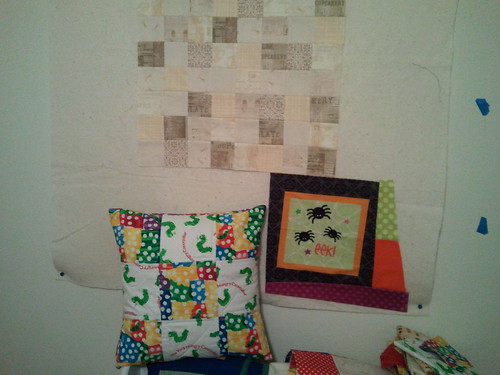
You can also see the absolute beginning of my pillow that I am determined will be on my couch for Halloween this year. I want wonky log cabin piecing, but I stopped there because I wasn't feeling it that night.
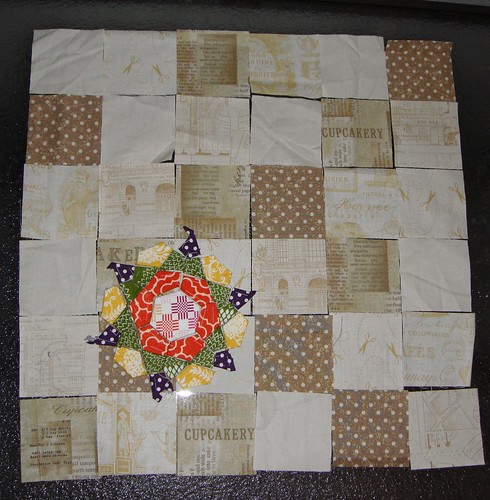
Then there's that piece of patchwork that you can barely see in the picture...a 20" square of cream-colored patchwork that will make up the base of my EPP rose star pillow for the PTS9. I actually started out with the set of squares on the bottom, but everyone on Flickr decided that the taupe dots were too dark, so I swapped them for some Farm Fresh crosshatch and some California Girl medallions. Except that the majority of people have been hating on the cream, big time. So sad.
Because I've been second-guessing myself at every turn on the PTS design, I decided to make up another pillow in something that I loved, on the off chance that my partner might also love it. So I have 2 blocks out of 9 made up for that [and I do love it! a lot!].
Plus I fiiiinally was able to mail out my bee block for August [ew, I'm a bad bee mate]!
*Linked with WIP Wednesday at Freshly Pieced!
Subscribe to:
Comments (Atom)


