*** I've been training the person who is taking over my job at work, preparing for my last day [today], getting everything squared away for starting my new job on Monday...all last week I kept telling my friends and coworkers that I thought I was forgetting something, but I had everything on my work checklist done. Turns out I forgot to push "Publish" on this post! D'oh!
Ok everyone! Hopefully you have everything all cut out so we can start some chain piecing today.
If you're going scrappy and cutting all your diamonds out individually then I'd recommend laying out your blocks before sewing. That's what I did for my scrappy mini version to get the placement as I desired.
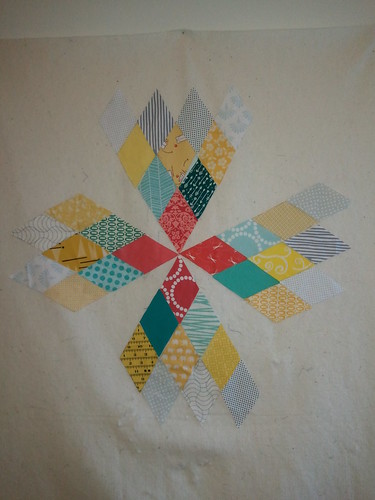
Sew your rows together following the diagram above. You only have diamonds at this point, so you don't have to worry about the corner pieces. Diamonds work the same way as triangles when sewing them together -- you have to offset one of the pieces by 1/4" to account for the seam allowance and have the pieces line up once you press the seam open.
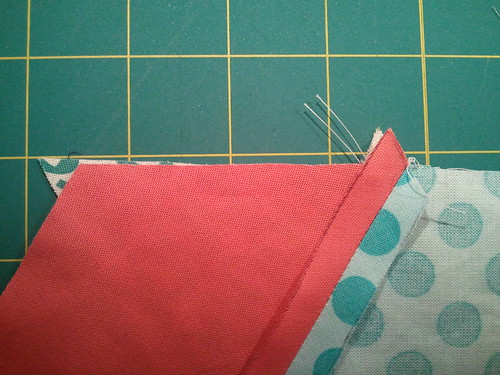
You will have these little handy dog ears after sewing your diamonds together. Don't trim them yet!
Instead you can use them to help you line up your rows of diamonds. How handy :) As you can see, the top strip is offset to the right by 1/4", but the dog ears line up. This will help you sew those rows perfectly! Press those seams open as well.
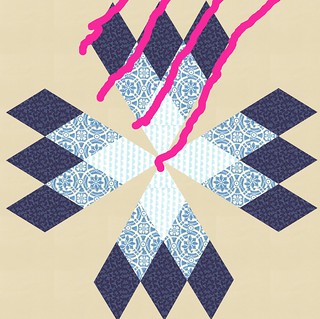
You will continue sewing four of these units to create a single block. The quilt requires 12 blocks, so you will have 48 of the little diamond "rockets". Or at least I think they look like rockets.
Now on to the next method:
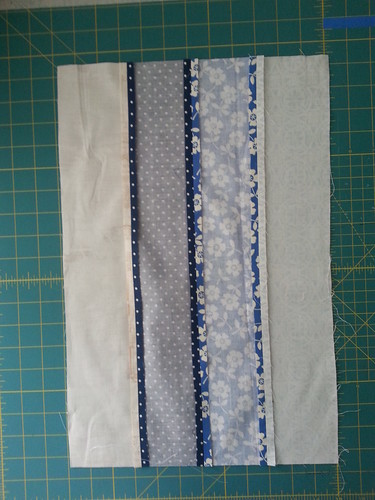
For those of you who are strip piecing, you will arrange your strips as desired [mine are going from light to dark] with the background strip on the outside. Sew together and press seams open.
To cut the diamond strips, align your ruler at a 60 degree angle, or use the 60 degree mark on your cutting mat. Line your ruler up at the very corner to get the most out of your strips. Make sure you start at the corner that is NOT on the strip of your background fabric [so don't be like me, my ruler is lined up opposite]. You'll notice that there will be some fabric waste, but we can use those pieces in a variety of ways!
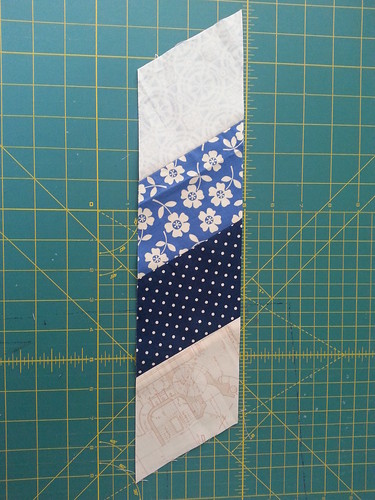
You will be left with a strip of diamonds! Yay!
This gives you an idea of how this will work out. You will sew your next set of strips using just the medium blue, dark blue, and background fabric. Another set of strips will be just the dark blue and background fabric. So you're doing three sets of strips to accomplish your diamond rows.
You can use the extra pieces that we were considering fabric waste [the pieces of your sets of strips that you can't get a full strip of diamonds out of] and piece them together to create another full strip of diamonds.
In the previous method we were able to use the dog ears to line up our strips when sewing them together, but sadly you just have to be more diligent with your pinning or offsetting the strips. You will be sewing a strip of 4 diamonds, 3 diamonds, 2 diamonds, and a single diamond together. Create 48 of these units for your blocks.
Please let me know if this is confusing...I know that everyone's brain works differently, so this might not click for people. I'm happy to help!
***Alright, we're actually going to push my original schedule back by a week to account for my forgetfulness and crazy schedule right now. So this week will be piecing the "rocket" units and next week we will add in the corner pieces to create the blocks.
See you next week. For realz this time. I promise this on the fluffyness of my brand new baby kitty :) Even though his arrival meant that I had to pack up all my sewing stuff so he can't get into any trouble.








Awwww cute kitty! :) Congrats! Super jeal over here. Also, I plan on doing your QAL - probably in the summer. I wish I had time to now :(
ReplyDelete