Tuesday, July 31, 2012

Gold Medal Tuesday

Hey! Link up your holiday projects here! Because it's the cool thing to do! 

__________________________________________________________________________

...so I woke up today and realized it was Tuesday.

And then I realized that I'd been sucked into the Olympic vortex. I think I've probably watched all 16 hours of Olympic coverage on NBC every day. The TV is on if I'm awake.

Table tennis? You can wipe your face after every 6 points.
Beach volleyball? The Brazilian women's team goes by their first names only.
Regular volleball? You have to be prepared to hug after every point.
Badminton? The fastest hit was recorded at 265 mph.
Dressage? Whaaaaat? FYI, the horse doesn't get a medal, which I think is unfair.

You're welcome for all that knowledge. I'll be sure to give you an update in a few days.

Now, on to the Olympics of sewing. Otherwise known as the only event I'd get to compete in because I'm exceptionally average [oxymoron? yes/no?].

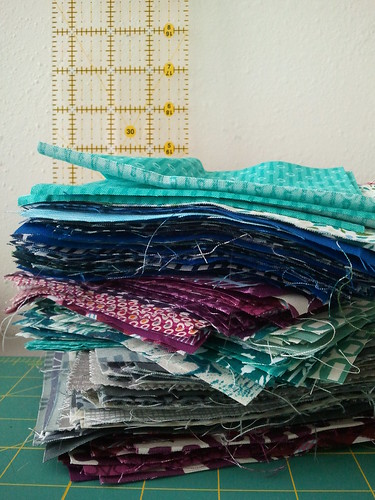
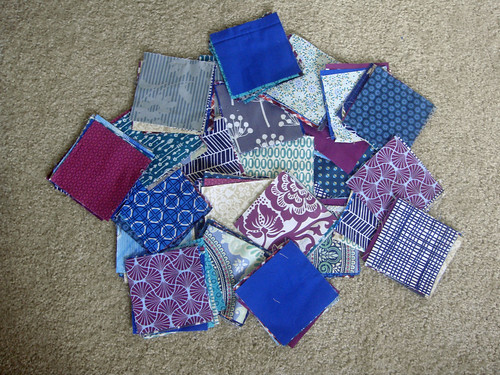
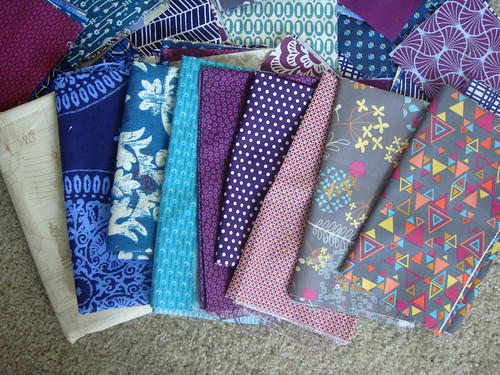
I need 510 charms for my queen-sized quilt.


I have 280. And no more fabrics that work with my color scheme. Epic fail. So I think that I don't even make it to the medal podium for that effort. I wish I'd won gold so I could pawn it for some fabric money...


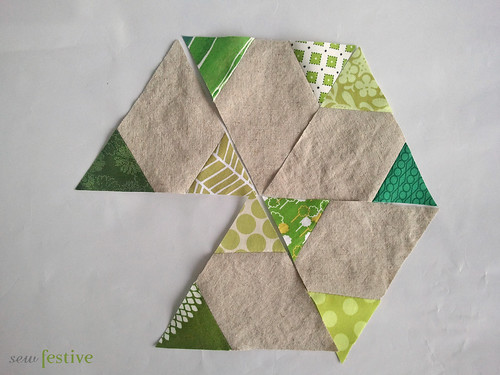
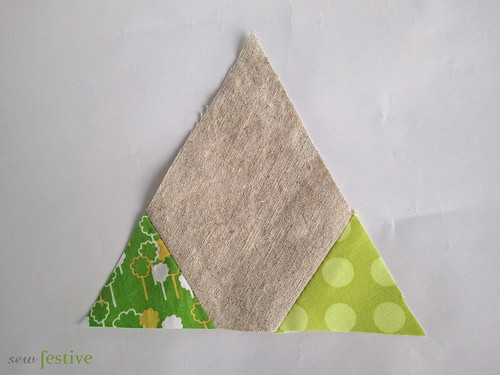
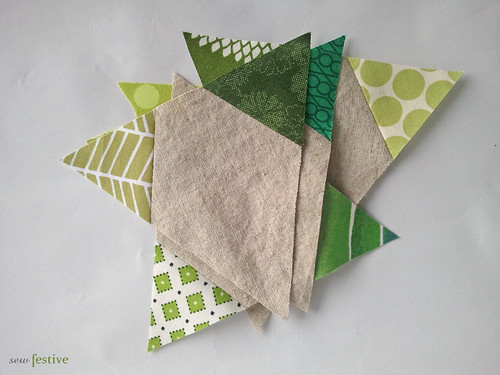
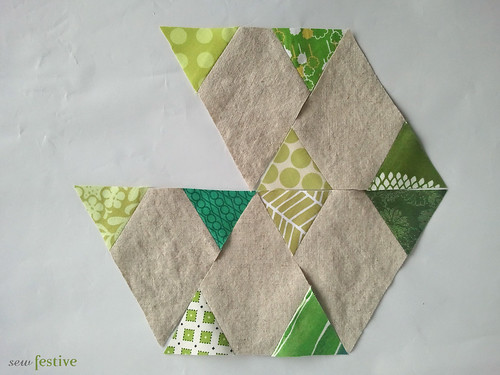
I started working with a new project earlier today. In various shades of green paired with Essex in Natural. I'm not sure what it will become, but I've toyed with a triangle design for my king-size bed quilt, so this is helping me see if I like it.

Here we have a very orderly layout of triangles
And here we have a haphazard turning of triangles. I'm leaning towards this.

I know I want to make bigger blocks next time though. Maybe I'll keep making baby triangles and turn this into a shower curtain?! [slowly but surely letting patchwork take over my house; don't tell Stephen].

Because I like the project so far I'm going to award myself the silver in this event. 
::the crowd roars its approval::


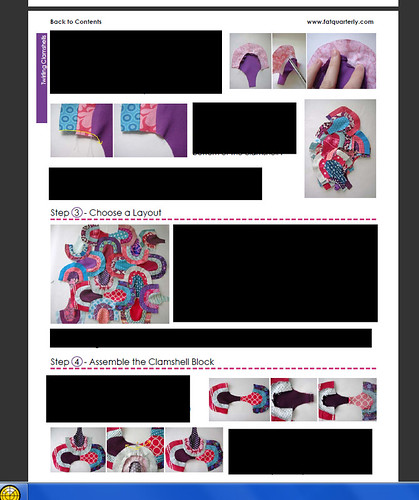
And today is the day that Issue 10 - Sew Britannia of Fat Quarterly is available for purchase! Aka the issue with my Twirling Clamshells pillow.

You have to buy the issue to see all the good stuff!


In true Olympic spirit in honor of the issue, I win a gold medal for that pillow! Because...42 pictures in that pattern people, 42 pictures.

[In case you were wondering if it's worth buying the issue...it's 111 pages. Chock full o' goodness]


PS, I only got 4 hours of sleep last night. I'm a terrible Olympian. And human.


*Linked with Quilt Story


Sunday, July 29, 2012

Christmas in July Link Up Day - Show off your projects!


Merry Christmas in July Day! It's finally here! Are you excited to link up your completed projects?! Because I can't wait to see them, yay!

And just in case you forgot what Santa was bringing [Santa partners with random.org, which is how prizes will be awarded]...

The winner of the Quilts/Tree Skirt category will receive:

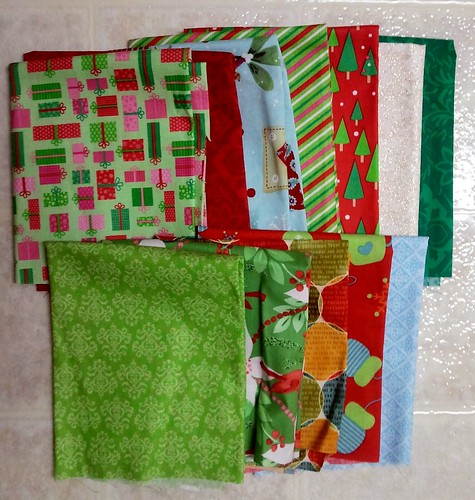
Red and green basics 8 FQ bundle from Pink Castle Fabrics!

The winner of the Home Decor category will receive:

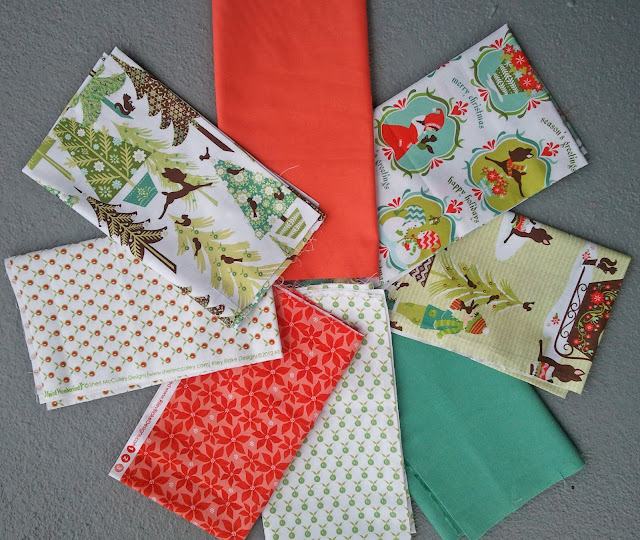
Alpine Wonderland 8 FQ Bundle

The winner of the Small Projects category will receive:

Panel of Flurry by Kate Spain [2/3 yd], 1/2 yd Kona White [not pictured], and 3 yds tiny pom pom trim

And then there's a random winner from all the entries linked up, with the winner getting:

Scrap bag [approx. 2 yds] of holiday fabrics from Sew Love Fabrics


Woohoo for prizes! The link-up will remain open from Monday July 30th until midnight on Friday August 3rd. Prizes will be announced Monday August 6th. You can certainly write separate posts for all your projects, but if you have multiple projects you can put them in the same post and then just choose the thumbnail picture for the appropriate category. As a refresher for where your project should be posted:
  • Quilts/Tree Skirts - quilts baby size and larger and tree skirts
  • Home Decor - pillows, table toppers, wall hangings, mini quilts
  • Small Projects - hand-stitched projects like hoops, towels, garlands, cards, pins, etc
Remember, we're celebrating completed projects. We all know that half-finished projects can languish for years, especially holiday ones. If you have an unfinished project then you have until Friday to finish it and link up! :)

If you're still confused about where to post your project then just shoot me an email and I'll help you figure it out! And just fyi, you have to click out of your Reader to link your project.

Now lets all have a great time checking out all these festive projects! Grab some cocoa coffee iced tea, sit back, and maybe leave some comments for everyone who is ahead of the holiday sewing game!


These are a few of my favorite things [from the past week]

**Don't forget that the linky party for Christmas in July opens tomorrow and stays open through Friday! It will be up by 9 am EST at the latest.

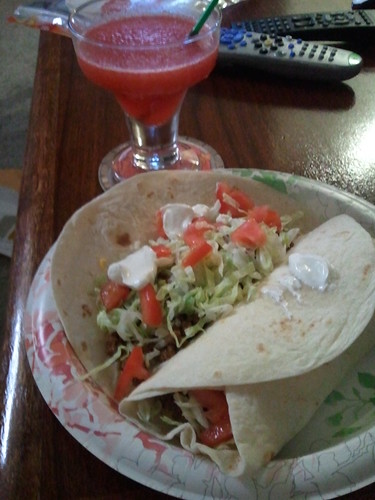
My sister and boyfriend and I get together every Tuesday night and have dinner while we watch Franklin and Bash. The weekly watching of the show started out as a joke, but we've really come to love the weekly get-together. This week was tacos and strawberry daiquiris!

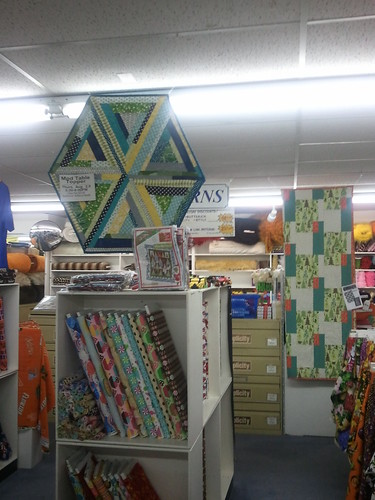
Look! It's my project! Hanging in a real store! Yay!

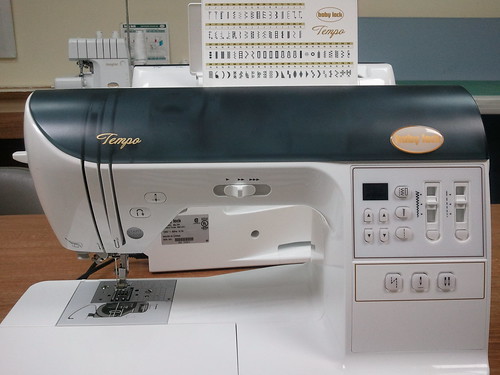
The Babylock that is in The Sewing Studio classroom. My class starts on Thursday, so I went in to familiarize myself and panicked in front of this fancy machine. It has about 80 stitches more than my machine and is all computerized and stuff. I hope nobody has any questions about how to make it work...

Because midnight snacks don't always have to be bad for you :)

My Hoover vacuum [on the left] has been only halfheartedly sucking stuff up from the floor, so I got this new compact Bissell vacuum and I LOVE it. That's when you know your life is dull...you get super excited about a vacuum cleaner ha!


Friday, July 27, 2012

Friday Fun Day!

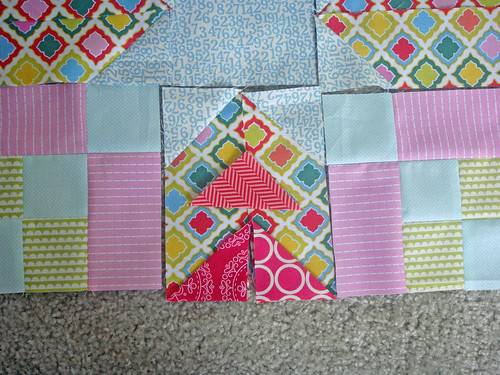
Woo! I finally got my bee block made for Marian!


The block is from the Sunshine Sparkle quilt from the Fat Quarterly Community Retreat Issue.

The thing that took me the longest?


Choosing the fabric for the little points!

I hope Marian likes it :)


I'm cutting and sewing more charm squares for the rest of the afternoon/evening. While I had originally laid all the squares out and was going to sew them in the order I'd decided, I've since found out that my friend wants a queen-sized quilt, so I've had to cut more squares and I think I'm going to sew 9-patches and then arrange those. Luckily I've also gotten some more fabric in the necessary color scheme since the first time I cut charms!


And then this evening I have to pick up some Newcastle [to celebrate London, duh] and watch the Olympic opening ceremonies :)

Wednesday, July 25, 2012

Thoughts on Design

Today I thought I'd move right past the sewing [yes, yes, feel free to leave now if you'd like. but come back on Friday for some good old-fashioned quilting updates!] and into the more technical aspect of this hobby.

Who would like to take some of their original ideas/designs and produce patterns for them?

::raises hand::

Who wants to make sure those hypothetical patterns look professional?

::raises both hands, and the hands of the person next to her::

I'd imagine that most of us would like our work to be well-received, not just on the sewing side, but also on the way we brand or package those ideas. That's generally why most people start to edit the layout of their blog after they've started to master the actual, um, blogging part.

So what's a person to do when they aren't a graphic designer/professional photographer/billionaire?

Here are some of the things that I've learned on the designing-a-pattern side of things over the past month or so as I've been developing my Harry Potter embroidery patterns:

1. Be prepared to put in WAY more work than you ever thought it would take.

2. Window-shop the Internet. That is to say, what is it about the patterns that you buy that appeals to you? If you're me, you've never purchased a pattern [except clothing patterns], so go out and buy one. I now have a super cute snowflake embroidery pattern that I'm excited to stitch later.

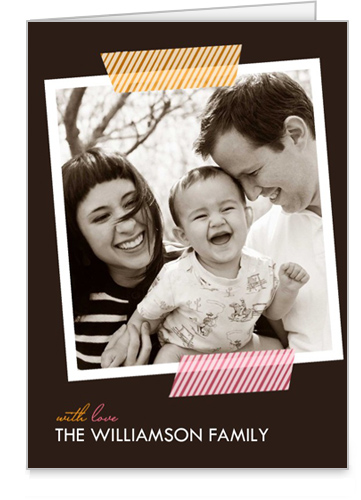
Image from Shutterfly

I also really like to look at card and stationary websites because they have great ideas to help with placement of images across an area of space.

Image from Fat Quarter Shop
3. Pinpoint your style. Yes, you want to appeal to other people, but it's harder to produce an appealing product if YOU don't even like the way it looks. I personally like modern, simple, stream-lined graphics.

Chelsea turned me on to PuglyPixel. Go. Learn about Photoshop. Now.

4. Read. A lot. When I was trying to determine how I wanted the front page of my patterns to look I devoured as much information as I could. Some nights I got the worst headache from trying to understand the technical aspect, from trying to feel like my brain wasn't overloaded on information.

5. If you're serious, invest in some good software, like Photoshop. Even if you don't have the latest and greatest version [ahem...me...].

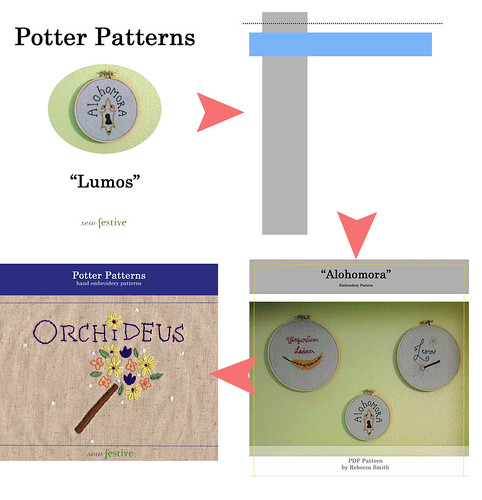
Now, even my testers got some of the early stages of the pattern's cover; they just got an early version with pictures of the original hoops from a year ago, but I thought I'd show where the cover page morphed from:


That isn't even the final cover, but it is much closer to what it actually is. 

And oh, and there's a full peek at one of the patterns...whoops ;)

Tuesday, July 24, 2012

Christmas in July Tutorial Wrap-Up


Christmas in July tutorials are all finished. Sad. But how great were all those projects?! It makes me want to keep sewing for the holidays! It also amazes me that all these wonderful ladies came up with such different tutorials...a great variety of projects!

And make sure you go visit all their blogs because they're constantly producing awesome stuff :)

I wanted to make sure to do a round-up of all the tutorials, so you can access them in one easy location.

But first things first, the winner of the Thimble Blossoms PDF Stocking Pattern is:
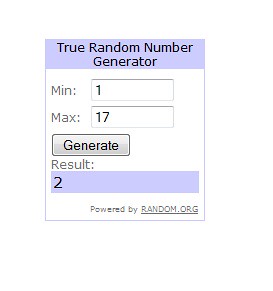
...which is Judith! She makes different stockings every year! I'll be emailing you Judith :)

I will also be updating the Christmas in July tab at the top of my blog later tonight with links to all of the tutorial posts, so you can easily access which one you want to make!

Remember, the linky party opens next Monday July 30th and will remain open until Friday August 3rd. There will be multiple categories, but you can only link one official entry per category for prize purposes. There's one prize per category, plus a prize for a random winner out of all the people who choose to share projects! Your project must be a completed item to be considered a valid entry!

So you still have plenty of time to make some holiday items for a chance to win some fabric :)

Maybe one of the tutorials from the past month?...


Monday, July 23, 2012

Christmas in July - Poinsettia Pins


Aw, we're at our last Christmas in July tutorial! Luckily, we're ending the tutorial fun with a great one by Jennifer! She makes all sorts of fun stuff and has been running a Follower Friday feature on her blog to highlight some of the great quilters out there. I'm trying to not hate her because she just moved to Maui this past week. Right?! I've been to Oahu twice so I'm absolutely green with envy because I know just how awesome it is. Sigh. I suppose I won't hold it against her because I also love this afternoon's project...
________________________________________________________________________

Hi all! I'm Jennifer from Knotted-Thread. I'm so exacted to be a part of this Christmas in July series! When Rebecca asked me to be a part of it I immediately thought of a family favorite.

Poinsettia's!

Materials
- red and green felt
- gold seed beads
- red metallic dmc floss
- dark green thread
- poinsettia templates
- needle
- scissors
- large pin (optional)

----------------------------------------------------------------

Start out by cutting out the template pieces, you should have one of each flower part and one green part. 


Take your 2 flower pieces and place them so the petals lay between each other. 


Using 2 strands of your metallic red floss, we're going to stitch and make the veins of the petals. I typically start with a top petal and move in a clockwise motion stitching the petals - that way the stitching goes through both pieces and keeps them together (don't worry about how the back looks with the threads, it will be covered later!)


Once you're finished tie off your end and get your green leaf piece. Position it however you like. 


Now, if you're making a pin, 
position it so the side that lays flat (doesn't open) is against the green
we will be using this side to anchor the pin to the poinsettia


I'll be using white thread so you can see what i'm doing
I recommend using green so it blends in better.

Start by knotting your thread at the end. Come up the green side and made sure the knot is between the leaves and petals pieces.
Go back down and through all 3 pieces to the front of the flower


Add a gold seed bead, and go back down through all three, close to where you came up on the front
Try and stay as close to the pin as you can, and as close to center of the flower to add your seed beads


Continue this process until you're happy with the center of your flower
I typically make a cluster of 7 seed beads


When you're finished, tie it off!

At this point, if you don't like how the back looks, add a piece of green felt between the pin prongs
to cover it up.


Alternative Options:
Poinsettia garland 
(add the beads the same way, but without the pin then string them together by putting the string sandwiched between 2 green leaf pieces, anchoring with hot glue)

Holiday gift decorations
bouquet of poinsettia


Be careful, they're addicting!
if you have any questions, feel free to ask.
I'd love to see picture if anyone should try these!

_____________________________________________________________________________________

How perfect does that poinsettia pin look on her white coat?! And for those who also wondered, the instant I read through the post I had to email her back and asked if she put on a winter coat and took a picture in the dead of summer. But nope, she didn't! And now she doesn't need that coat in Maui. Luckily these poinsettias would look adorable as a garland or pinned to a bag too!

I will absolutely be making these, as I have a whole slew of fake poinsettia plants that I put out at the holidays; it's a great way to be festive on a budget!

Thanks so much for all the great ladies who created tutorials over the past month! I will be doing a round-up post in a few days so you can access all the tutorials in the same place. Make sure you checked out Katie's project from earlier today, and then get creating. The linky opens next Monday, July 30th for you to show off your completed holiday projects!