It's been a while since I wrote about some clothing I've made - I've sewn a bunch of things, but just never got around to blogging them. But I've got my coffee in hand, so let's hop to it :)
I like the idea of making basics, like tshirts, but because I don't have much experience sewing with knits, I was hesitant to buy a $15 pattern only to hate it.
Enter the Deer and Doe Plantain tee. Boom, free! No excuses now Rebecca!
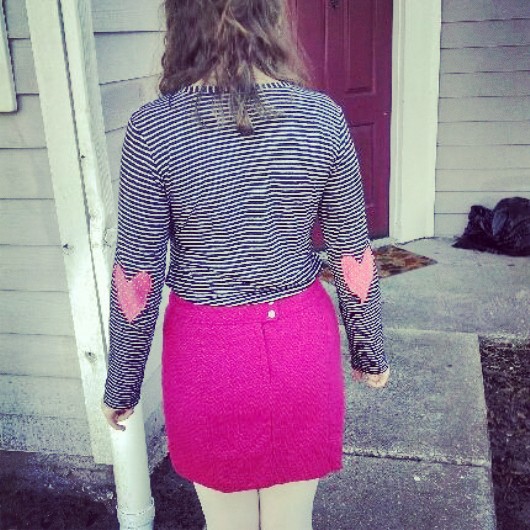
I made it up first as a tshirt for Valentines Day, but it ended up being too short for my torso [I just wear it tucked into high-waisted things] when I wear typical pants, which sit low on my hips.
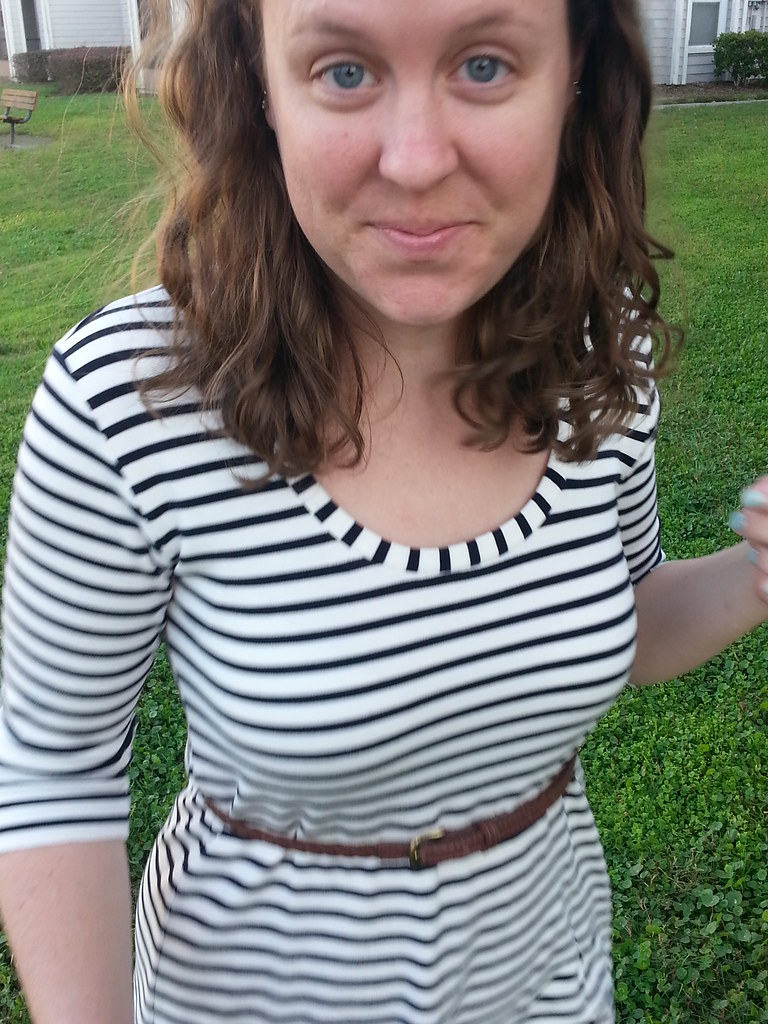
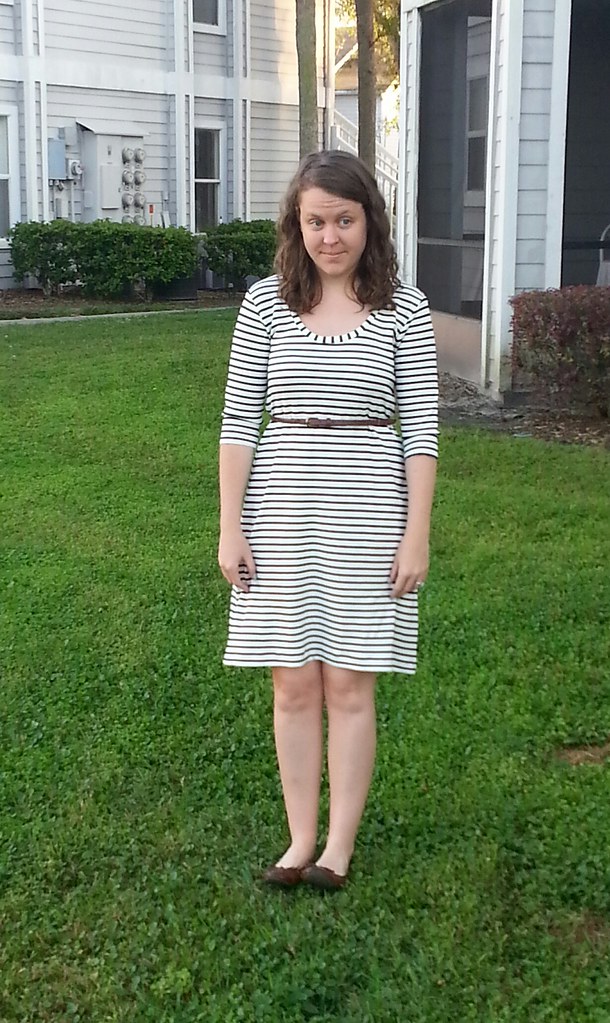
Since the tshirt was fun and easy, I decided to do a class knit shift dress. For my birthday a few weeks ago I bought really really nice thick stable knit [Using my limited knowledge, I'm guessing its ponte de roma] from my LQS in a beautiful navy and off white. The fact that it was my birthday was the only reason I succumbed to purchasing the $17/yd fabric.
I had taken the day after my birthday off from work and decided I would sew the dress as my present to myself whee! It took a few hours, because I'm a slow apparel sewer. And because, you know, I had to deal with this every step of the way:
To make the dress I cut the size top that I needed and then once I got to the hemline of the shirt I simply graded out to the length dress that I wanted. I measured my hips and thighs and knew that the dress needed to be at least that wide. The overall shape is slightly A-line. I did have to tweak a little bit as I was sewing, because I just did all this directly on the fabric, not on pattern paper first.
I actually pressed my seams this time around! Who knew that knits looked so much better when you press the seam. Laugh at me all you want :)
I also tried out the overlock stitch on my machine for the first time. It sews the seam and does a serger-like stitch all at once. I did have to trim down the seam, because unlike a serger there is no knife cutting away at the seam. But wow does it make it look so much more professional!! I'm going to do this on everything now. All the things!
The only thing that this dress is missing is a twin-needle stitched neckline and hem. I have a twin needle. I definitely bought it. And then I put it somewhere to keep it safe and not lose it. And subsequently lost it. Apparently I'm one of those people. Who knew. Based on the pictures in this post, I also can't make normal faces for the camera.
Anyways, sew the Plantain. Even if you're new with knits. You won't regret it. It looks fabulous. My next version is going to have cat elbow patches and I'M SO EXCITED ABOUT IT.
Saturday, March 29, 2014
Wednesday, March 19, 2014
WIP Wednesday: The One With Two Quilts
I am a one-big-project-at-a-time girl. I might make a block or two, or a pillow, but I don't typically have multiple quilts going at once. Just the thought stresses me out!
But right now, sigh, I'm in the midst of a baby girl quilt for my boss and a baby t-shirt quilt for a friend from elementary school.
I'm hoping to finish both this weekend :)
These are both Instagram photos - follow me @sewfestive for day-to-day sewing.
*Linked with WIP Wednesday at Freshly Pieced
Monday, March 3, 2014
Botanics Challenge
Jess from Quilty Habit and I sometimes get a little silly on Instagram. I especially like that we each post Target pictures for the other person because #targetlovesquilters. So when I saw that she had won a Botanics layer cake, and I had purchased one in a moment of weakness, I said "we can't mess with destiny" and a challenge was born!
We agreed to create a project using said layer cake and it was to be based on a picture. And wouldn't ya know it, the picture Jess chose was all about improv, and mine was all about precision.
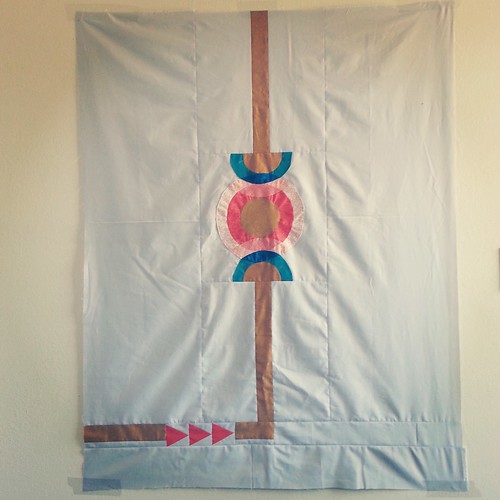
And voila! Here's my finish! Sorry the picture was awful, I haven't been able to get a picture outside yet :(
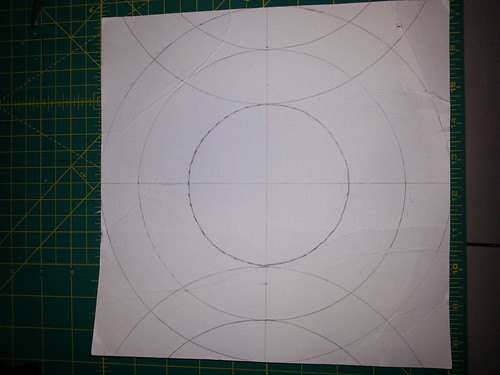
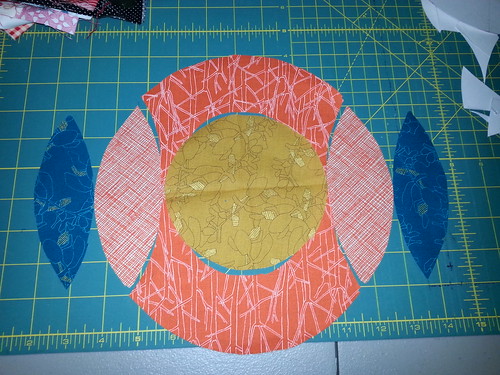
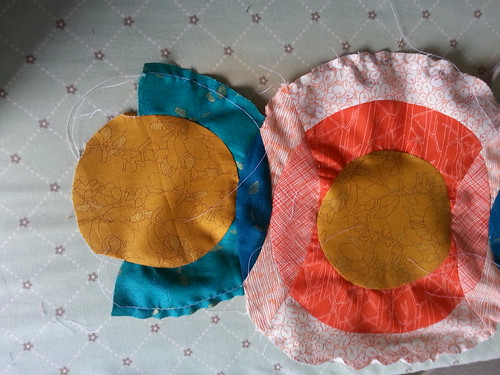
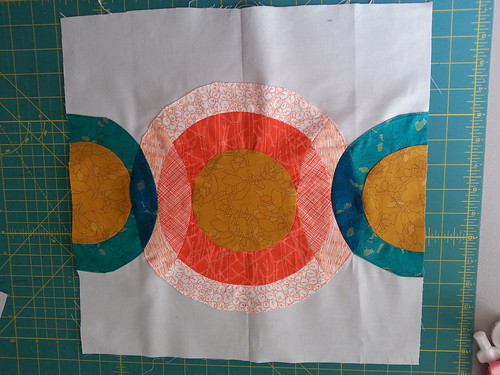
I created templates using the cardboard piece at the back of the layer cake and a variety of embroidery hoops. I cut the pieces out, added seam allowances, and chose my fabrics.
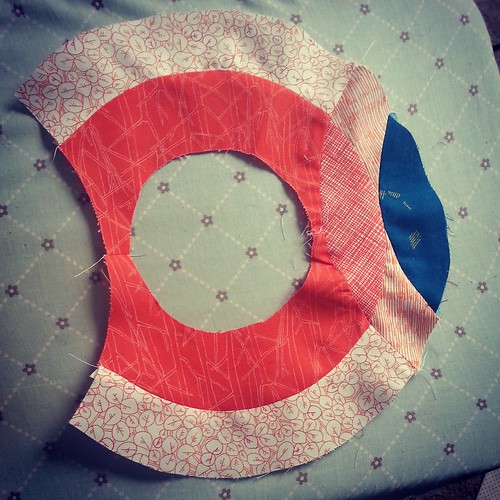
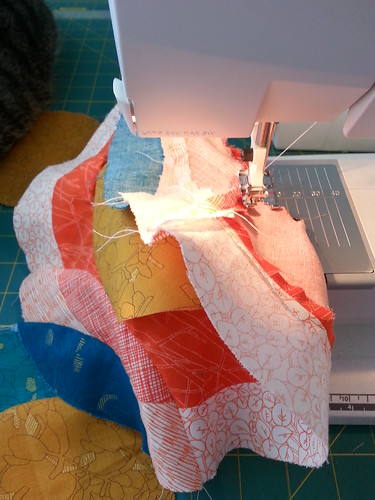
Orange is a color that I almost never work with, so this was certainly a little out of my comfort zone! And the night that I did most of the bulk of the piecing for the circles left me with a headache. Honestly, I'm not quite sure that I could do it again, but I just tried to sew the pieces together in the most logical order, and it miraculously resulted in no Y-seams.
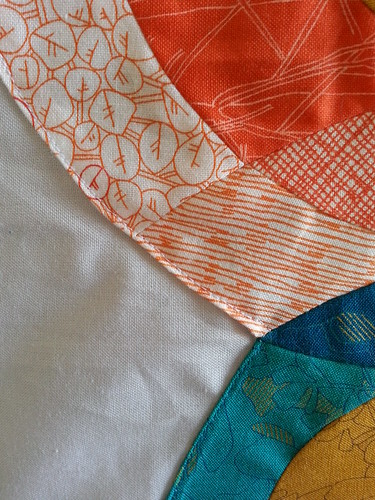
One of the things that was nice about the Botanics fabric is that it doesn't have a lot of stretch to it. While this makes me sad that I won't be making any shirts out of it anytime soon, it was nice for curved piecing. But despite my best efforts, the final product was a little wavy. And I had used up all my ability to figure out the math to piece any more curves, so I used my machine to thread trace the 1/4" seam and then pressed the raw edge under and appliqued it to a 15" square of Kona silver [which, by the way, I'm in love with that color now].
And that square sat for over a week. While I looked at it and wondered where to go next. I totally would have made a pillow, but Jess had shown some sneak peeks of her awesome quilt, and I was feeling the pressure to create a bigger project, lest I look like I was taking the easy way out.
I think this is where I started to veer off from the picture. I would wake up each day with a different idea. First I was going to do chevrons on all four sides, and then I was going to create additional gold half circles extending out, and then, and then, and then... And my project still sat. Finally I got it in my head that the final product needed to look like a circuit, or machinery type vibe. So I added some gold strips, some equilateral triangles, and lots more Kona silver.
When I was taking pictures of it Stephen asked me what it was. I explained the challenge and said this was my project. His response was to clarify whether or not it had a purpose and I said that it didn't necessarily need a purpose but that sometimes it was just about creating art.
He ended the conversation by saying "Well then this is like all that famous modern art, because I've never understood it, and that's how I feel when I look at your project." ;)
Make sure you go check out Jess's project - a wildly different use of Botanics and a fabulous end result! I can't wait to see the quilted version because she really rocks the FMQ and I'm sure it will add another layer of spectacular depth to her quilt!
Subscribe to:
Comments (Atom)

