Monday, May 12, 2014

Sew Mama Sew Giveaway Day! - Giveaway closed and winners announced!

Congrats to Sharon E. [#39] and Mom C. [#136] as the winners of my giveaway! Thanks to all who entered :)


Hi all! Welcome to my little corner of the Interwebz.

For those of you visiting for the first time, I'm Rebecca. I've been quilting/sewing and blogging for almost 3 years now [meep!] and over the past year I've also worked in child welfare, which has caused my free sewing time to take a huge nosedive. Like many of us, I'm still perfecting the balance between life and my hobby, but if you want to see projects from some of my busier sewing days, just click on the Finished Projects tab at the top! I haven't updated it recently because I'm a bad blogger lol.


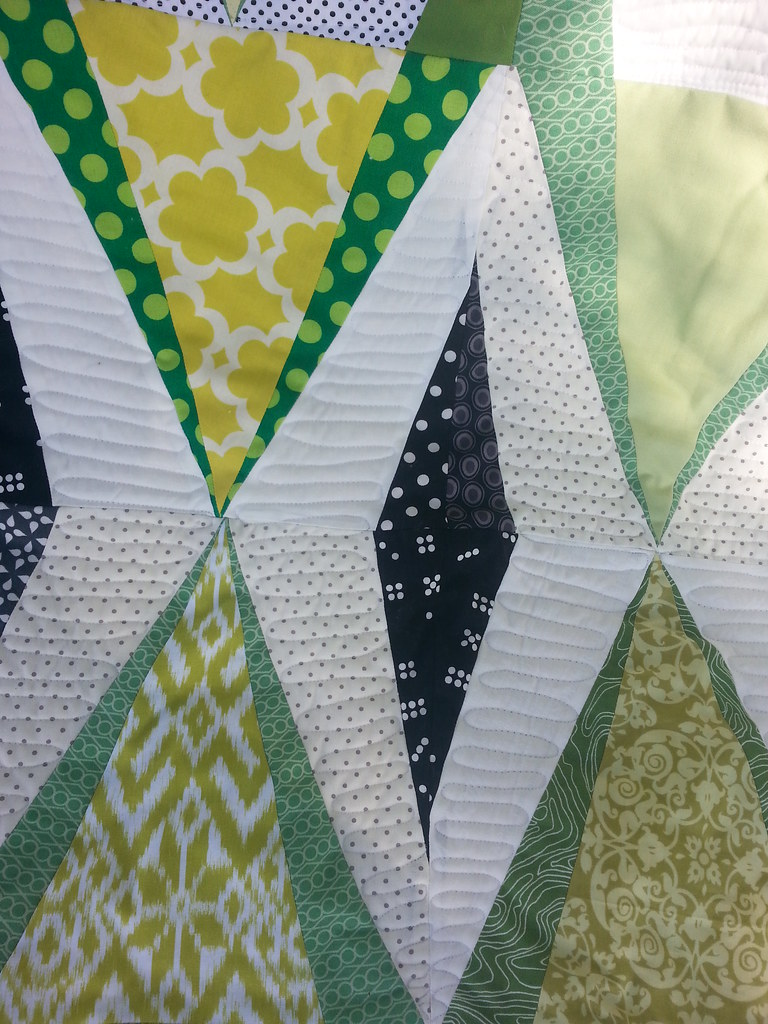
This is my recent favorite project - it's a quilt that is in the May/June edition of Fons and Porter's Love of Quilting, and it will get it's own post one of these days :)

On to the giveaway!

There are two winners here:


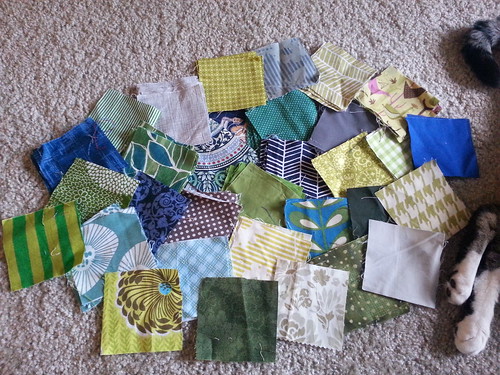
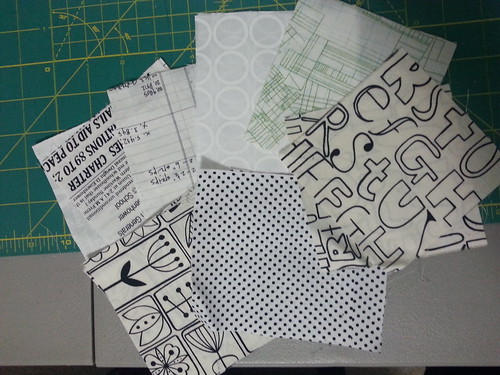
A set of 36 squares cut from my low-volume fabrics that measure 4.5"


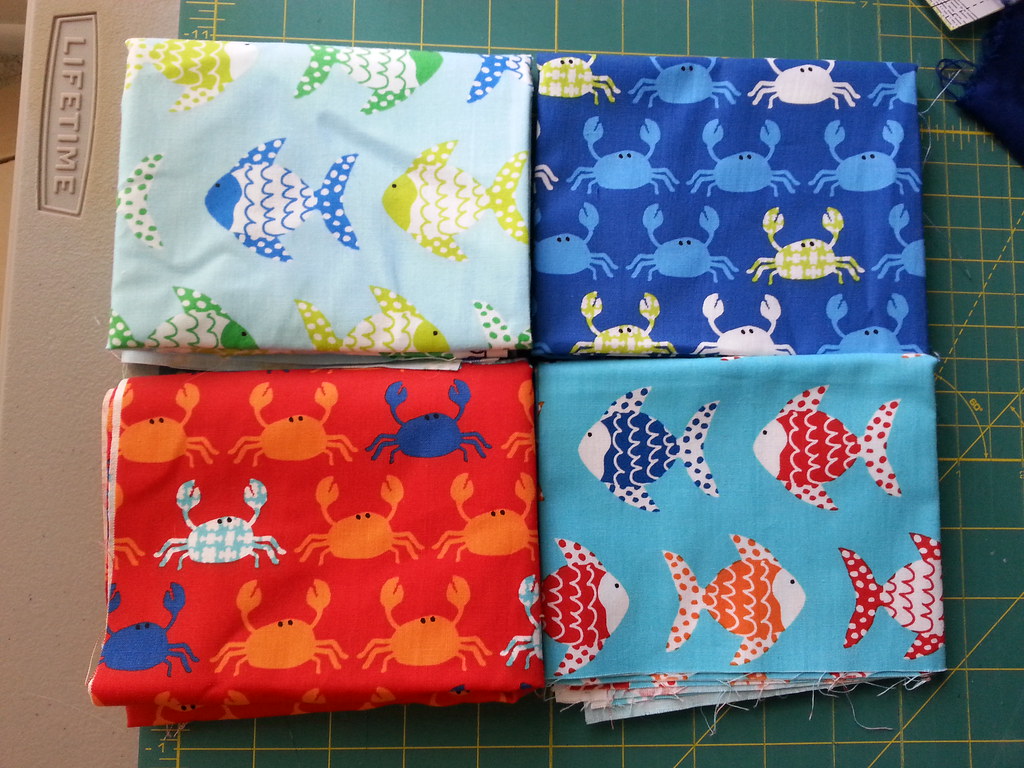
and 4 fat quarters of Laurie Wisbrun Don't Be Crabby fabrics


Here's the rules:
-This giveaway is open internationally
-Please leave a comment stating what your next sewing project is and which fabrics you'd prefer. If you are a no reply blogger make sure you also leave your email address.
-You get a second entry for being a follower, so leave a comment saying if you are!
-This giveaway is void where prohibited and will end on May 16th at 5 pm. I will notify the winner on this post and by email on May 18th.


Now go spend some time entering all the other giveaways at Sew Mama Sew! :)

Tuesday, May 6, 2014

Where I pretend to be a party planner

::crickets chirp::

::tumbleweed blows by::

Oh hi. I'm Rebecca. I used to blog in this space here. Sigh.

I can't believe it's May already - is anyone else experiencing that?! I'm not even sure what I've done with 2014 so far. My life right now is kind of like a really stuffed burrito from Moe's...once you take a bite you can't put it down until it's done, otherwise it will all fall apart! I'm juggling so much stuff that I don't have time to stop and breathe, lest something fall by the wayside.

But you know, I've been sewing a lot, and I have a backlog of like 6 projects that need to be blogged. And some of them are big. Luckily, I have the entire week off for the most relaxing sit-in-my-jammies-on-the-couch vacation. My first vacation time in a year. To say I'm excited is an understatement.

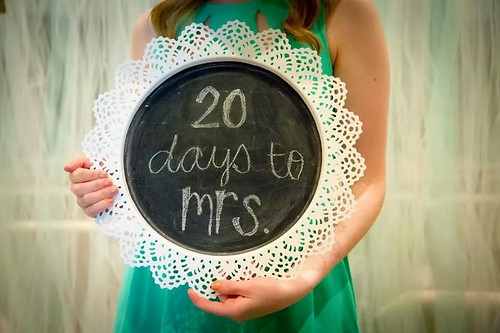
I thought I'd kick off my project backlog with something that is not necessarily sewing related, but I'm tickled about my effort, so...I'm a bridesmaid in a friend's wedding next week and recently the maid of honor and I hosted a huge bridal shower tea party for her. We invited 50 people, so we had to get crafty on pretty much everything, since both of us are clearly not rolling in money.

[Please excuse that most of these are cell phone photos, I ran out of time to take proper photos before the event]


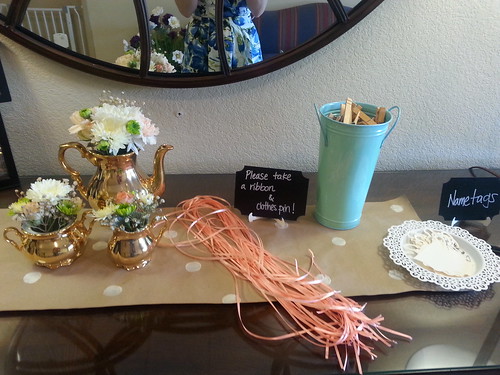
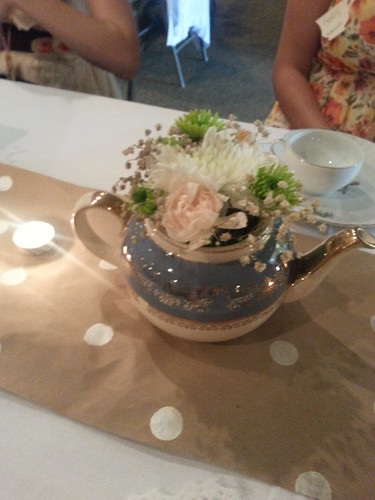
Entry way - all the signs were chalkboard paper and all the centerpieces are tea pots or tea tins we owned or borrowed that were filled with flower arrangements the night before the event. All the brown kraft paper table runners were polka dot stamped by yours truly with a champagne metallic paint.


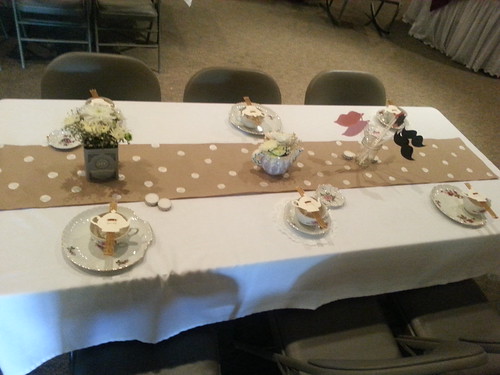
The tables were set with individual tea place settings of real china with a tea pot cut out of paper and threaded with honey straws [the favors!] and the individual's name. The lips and mustaches were cut out of paper as well and used for a game - they ended up being used as photo props too! I think it looked super nice when all the tea lights were lit and provided that soft romantic glow to the space. We had 6 tables, so lots of candlelight!


The color palette for the tea party was mint, ivory, and light peach, with gold accents. We ended up using pops of those green flowers in the centerpieces for a little bit of edge. We also spray painted the baby's breath gold.


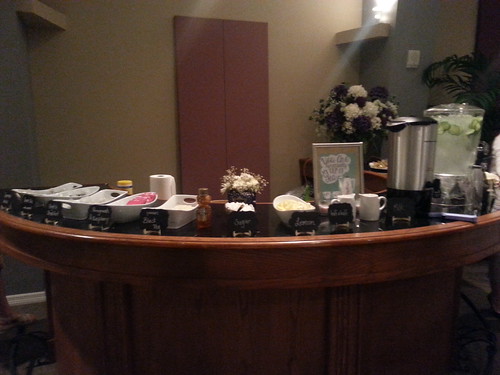
The guests got to enjoy a hot tea bar of several varieties of black, green, and herbal teas. I enjoyed a lovely green coconut variety. There was also cucumber water, lemonade, and blushberry iced tea.


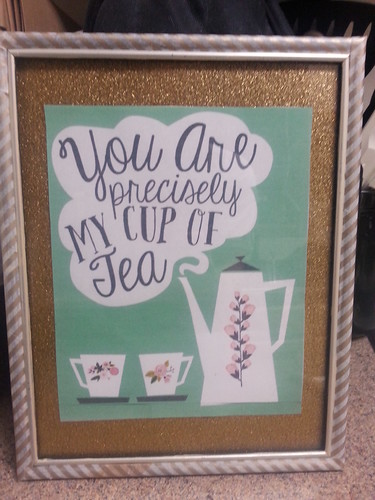
This print came from Etsy and was dressed up with some gold glitter cardstock. I had really wanted an ornate frame and was having the hardest time finding one, so I used a cheap black frame that I had and covered in in gold striped washi tape.


This next sign is a platter from IKEA that I painted with chalkboard paint to sit on the gift table. I'm pretty excited to put it in my sewing room with some inspirational quote.


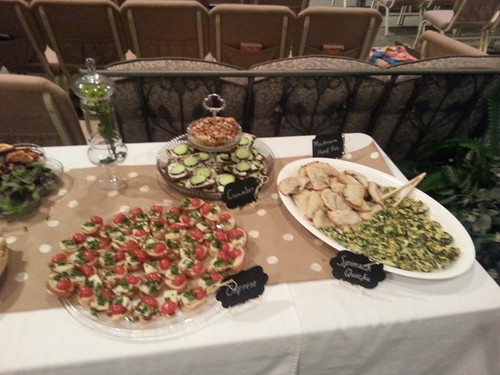
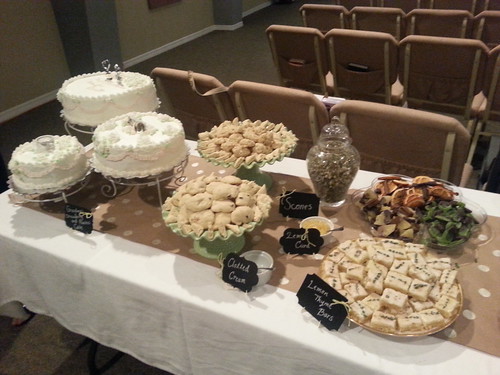
The cohost and I made all the food the day before and day of. The bride is a vegetarian, which actually is perfectly suited for a tea party. Our menu consisted of mini spinach quiche and portabello mushroom and gouda hand-pies made by me for the hot food, cucumber and cream cheese finger sandwiches and caprese sandwiches that we made that morning, and then my cohost made blueberry, plain, and lemon ginger scones and lemon lavendar bars. We had a selection of nuts, dried fruit that we dipped in dark chocolate, and fruit-filled cakes made by the bride's grandmother.
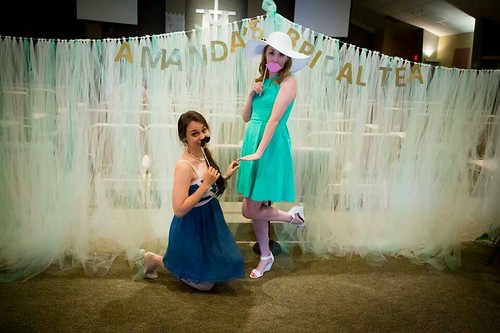

My greatest achievement for the bridal tea party was this monstrous tulle wall! We held the event in a church [because of the number of people] and I really wanted to make our tea party space separate from the rest of the church to maintain the right atmosphere. So I got hundreds of yards of ivory and mint tulle online and cut strips to tie to fishing line. The wall ended up being 24 feet wide and 6 feet tall [it was strung between the food tables and the gift table]. I added the banner cut from more gold glitter cardstock and it ended up being a great room divider AND photo backdrop [that's my cohost on the left and the bride on the right]!

All in all, a great day! I'm glad it's over with since it required a lot of planning and work, but it was pretty fun to pretend to be a party planner for a few weeks. Next up I have some quilts, clothing, and a tote bag, so stay tuned!


Saturday, March 29, 2014

Sartorial Saturday:Deer and Doe Plantain

It's been a while since I wrote about some clothing I've made - I've sewn a bunch of things, but just never got around to blogging them. But I've got my coffee in hand, so let's hop to it :)

I like the idea of making basics, like tshirts, but because I don't have much experience sewing with knits, I was hesitant to buy a $15 pattern only to hate it.

Enter the Deer and Doe Plantain tee. Boom, free! No excuses now Rebecca!


I made it up first as a tshirt for Valentines Day, but it ended up being too short for my torso [I just wear it tucked into high-waisted things] when I wear typical pants, which sit low on my hips.

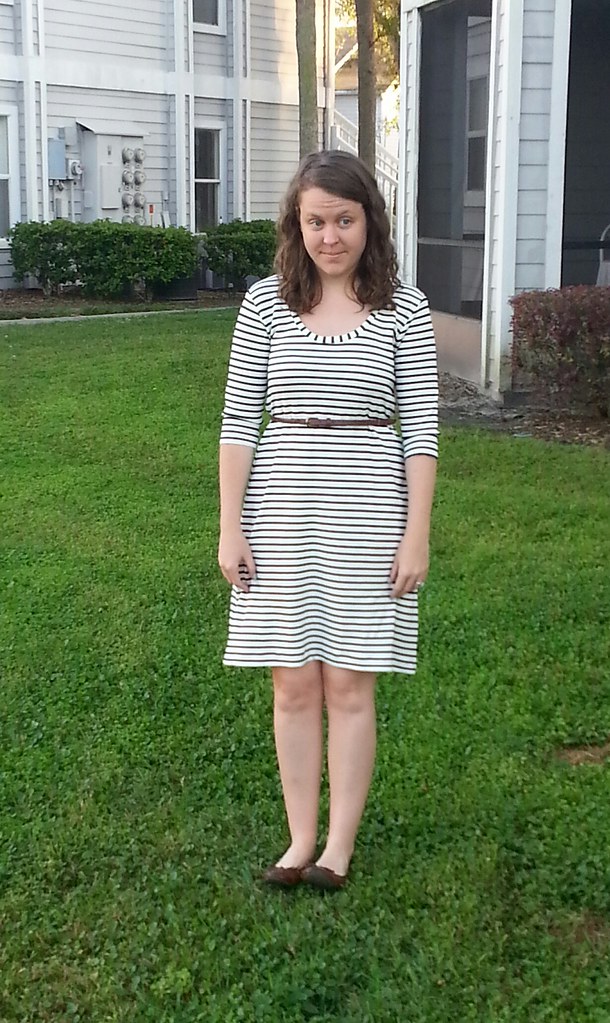
Since the tshirt was fun and easy, I decided to do a class knit shift dress. For my birthday a few weeks ago I bought really really nice thick stable knit [Using my limited knowledge, I'm guessing its ponte de roma] from my LQS in a beautiful navy and off white. The fact that it was my birthday was the only reason I succumbed to purchasing the $17/yd fabric.

I had taken the day after my birthday off from work and decided I would sew the dress as my present to myself whee! It took a few hours, because I'm a slow apparel sewer. And because, you know, I had to deal with this every step of the way:


To make the dress I cut the size top that I needed and then once I got to the hemline of the shirt I simply graded out to the length dress that I wanted. I measured my hips and thighs and knew that the dress needed to be at least that wide. The overall shape is slightly A-line. I did have to tweak a little bit as I was sewing, because I just did all this directly on the fabric, not on pattern paper first.


I actually pressed my seams this time around! Who knew that knits looked so much better when you press the seam. Laugh at me all you want :)

I also tried out the overlock stitch on my machine for the first time. It sews the seam and does a serger-like stitch all at once. I did have to trim down the seam, because unlike a serger there is no knife cutting away at the seam. But wow does it make it look so much more professional!! I'm going to do this on everything now. All the things!


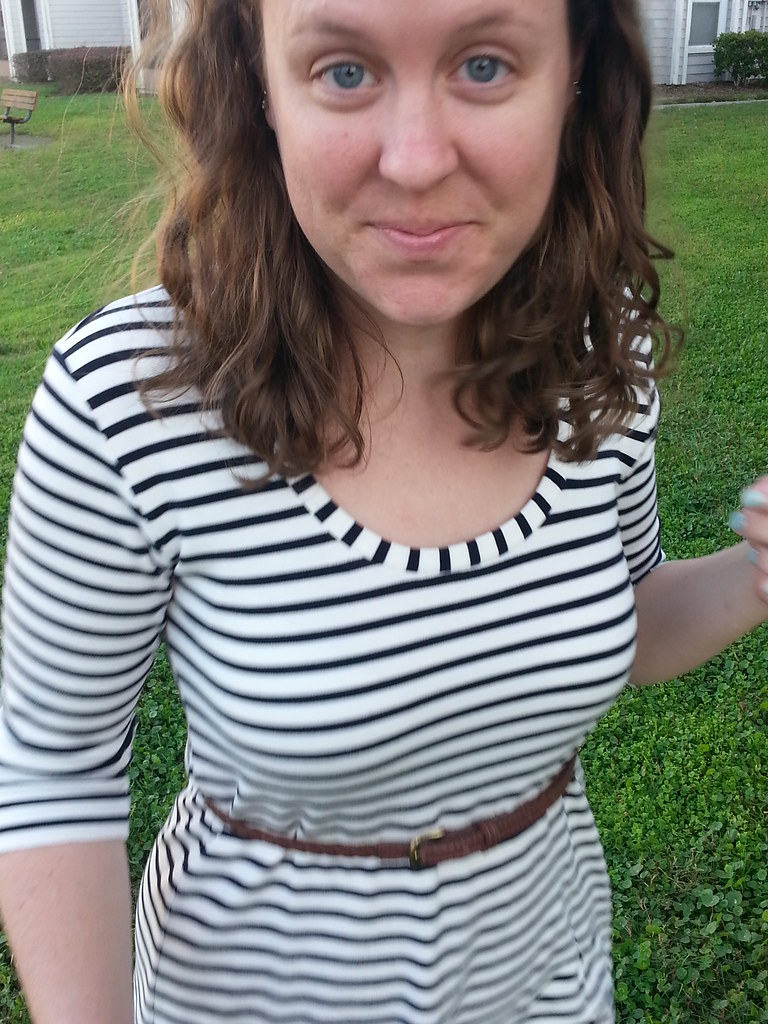
The only thing that this dress is missing is a twin-needle stitched neckline and hem. I have a twin needle. I definitely bought it. And then I put it somewhere to keep it safe and not lose it. And subsequently lost it. Apparently I'm one of those people. Who knew. Based on the pictures in this post, I also can't make normal faces for the camera.


Anyways, sew the Plantain. Even if you're new with knits. You won't regret it. It looks fabulous. My next version is going to have cat elbow patches and I'M SO EXCITED ABOUT IT.

Wednesday, March 19, 2014

WIP Wednesday: The One With Two Quilts

I am a one-big-project-at-a-time girl. I might make a block or two, or a pillow, but I don't typically have multiple quilts going at once. Just the thought stresses me out!

But right now, sigh, I'm in the midst of a baby girl quilt for my boss and a baby t-shirt quilt for a friend from elementary school.

I'm hoping to finish both this weekend :)


These are both Instagram photos - follow me @sewfestive for day-to-day sewing.

*Linked with WIP Wednesday at Freshly Pieced

Monday, March 3, 2014

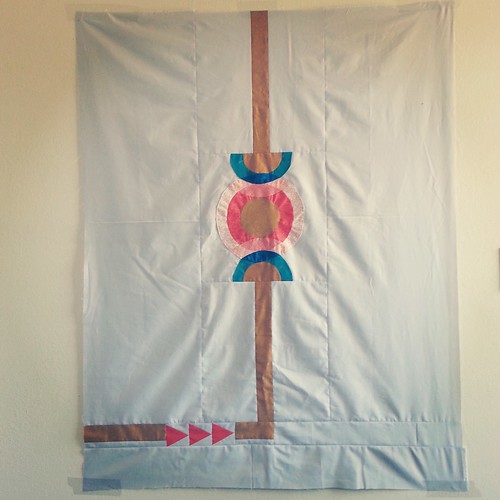
Botanics Challenge

Jess from Quilty Habit and I sometimes get a little silly on Instagram. I especially like that we each post Target pictures for the other person because #targetlovesquilters. So when I saw that she had won a Botanics layer cake, and I had purchased one in a moment of weakness, I said "we can't mess with destiny" and a challenge was born!


We agreed to create a project using said layer cake and it was to be based on a picture. And wouldn't ya know it, the picture Jess chose was all about improv, and mine was all about precision.


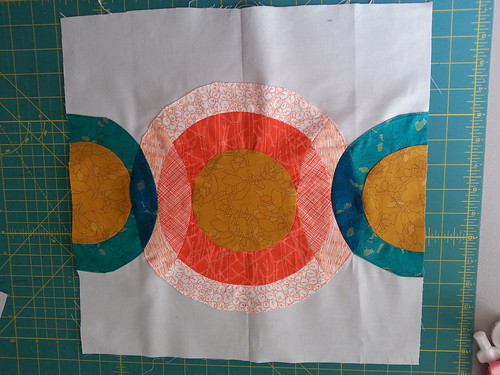
And voila! Here's my finish! Sorry the picture was awful, I haven't been able to get a picture outside yet :(


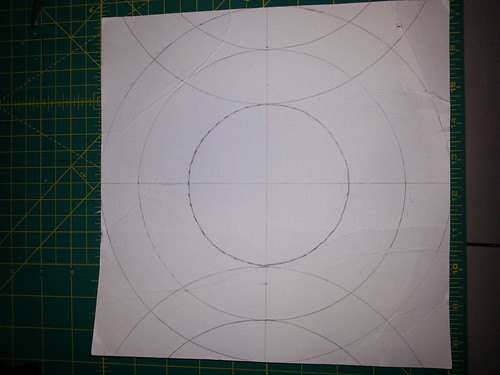
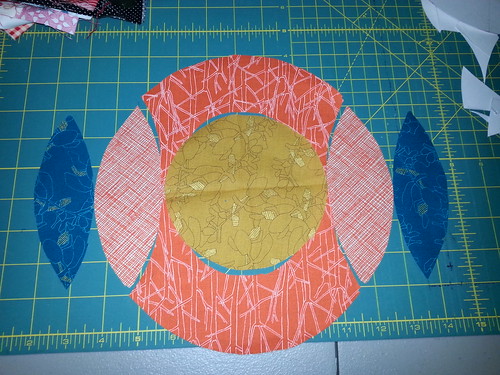
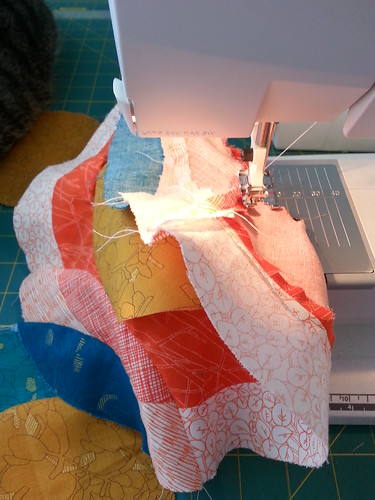
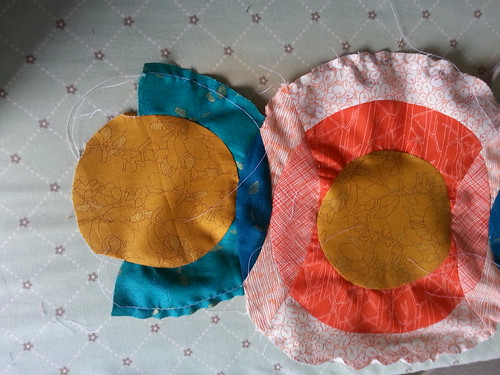
I created templates using the cardboard piece at the back of the layer cake and a variety of embroidery hoops. I cut the pieces out, added seam allowances, and chose my fabrics.


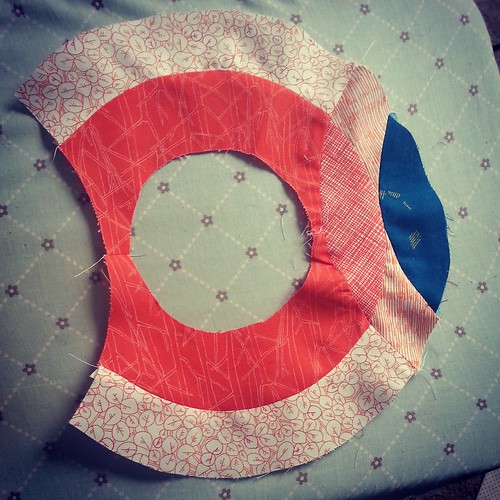
Orange is a color that I almost never work with, so this was certainly a little out of my comfort zone! And the night that I did most of the bulk of the piecing for the circles left me with a headache. Honestly, I'm not quite sure that I could do it again, but I just tried to sew the pieces together in the most logical order, and it miraculously resulted in no Y-seams.


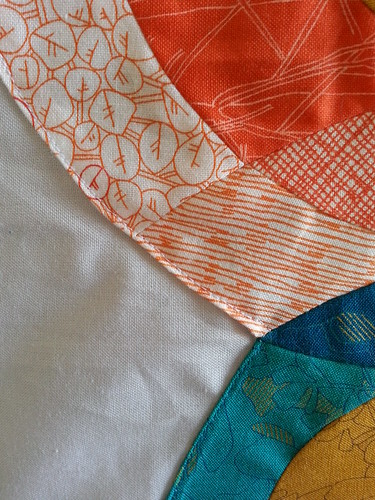
One of the things that was nice about the Botanics fabric is that it doesn't have a lot of stretch to it. While this makes me sad that I won't be making any shirts out of it anytime soon, it was nice for curved piecing. But despite my best efforts, the final product was a little wavy. And I had used up all my ability to figure out the math to piece any more curves, so I used my machine to thread trace the 1/4" seam and then pressed the raw edge under and appliqued it to a 15" square of Kona silver [which, by the way, I'm in love with that color now].


And that square sat for over a week. While I looked at it and wondered where to go next. I totally would have made a pillow, but Jess had shown some sneak peeks of her awesome quilt, and I was feeling the pressure to create a bigger project, lest I look like I was taking the easy way out.

I think this is where I started to veer off from the picture. I would wake up each day with a different idea. First I was going to do chevrons on all four sides, and then I was going to create additional gold half circles extending out, and then, and then, and then... And my project still sat. Finally I got it in my head that the final product needed to look like a circuit, or machinery type vibe. So I added some gold strips, some equilateral triangles, and lots more Kona silver.


 When I was taking pictures of it Stephen asked me what it was. I explained the challenge and said this was my project. His response was to clarify whether or not it had a purpose and I said that it didn't necessarily need a purpose but that sometimes it was just about creating art.

He ended the conversation by saying "Well then this is like all that famous modern art, because I've never understood it, and that's how I feel when I look at your project." ;)

Make sure you go check out Jess's project - a wildly different use of Botanics and a fabulous end result! I can't wait to see the quilted version because she really rocks the FMQ and I'm sure it will add another layer of spectacular depth to her quilt!

Monday, February 17, 2014

Instagram Happenings

Follow me on Instagram @sewfestive for sewing tidbits, kittycats, and pictures of my dinner [ha!] :)


Bought 3.5 yards of 108" wide backing fabric from Botanics. It's got more of a drape than the regular width Botanics, which is weird. Can't wait to get quilting on my king-size Irish Chain!


Absolutely wondering how I got by making HSTs before I got a 4.5" square ruler. And zomg I love new rotary cutters. Like cutting through butter. With a fluffmuffin helper.


A 20" block from the Simplify Fireworks pattern for a baby quilt for my boss. It took forever to make this one block though, so I'm contemplating turning the quilt in more of a medallion shebang. My boss gave birth 2 weeks early, so I have to hurry on this!


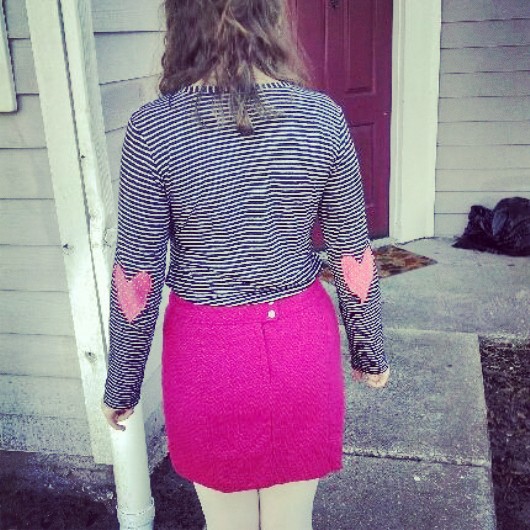
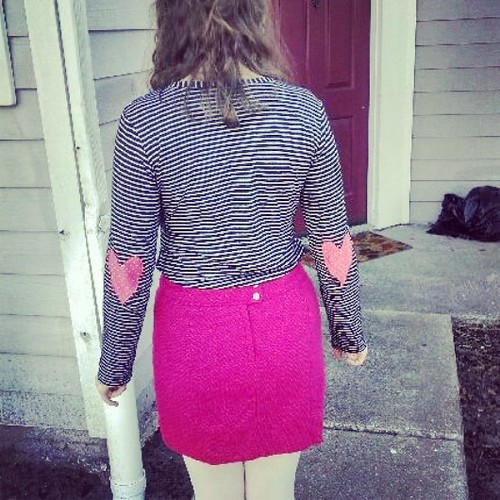
I cut into some faaabulous rayon jersey to make a Deer and Doe Plaintain tshirt. With heart elbow patches!!! AHHH. Except in this picture you'll note that I accidentally sewed the sleeve on wrong. More on this pattern later.


But it's ok, because it turned out adorbs. I don't normally dress this precious, but I really went all out for Valentine's dinner this year ;)

Happy week to everyone!

*linked with Fabric Tuesday

Monday, February 3, 2014

Spring Cleaning

To those of you who are experiencing those frigid winter temps...It was 84 in Florida today ;)

Sorry!

But the warmer temperatures and the wedding planning and working 50 hour weeks has had me desiring a simpler life - this simpler life starts with getting rid of some fabric that's been lounging around not being used. If you're interested in any of the sets listed below, just shoot me an email at sewfestivehandmade [at] gmail [dot] com. All prices include shipping in the US; international interests are welcome, the price will just change.


4.5 inch low volume squares - 50 squares total [this is just a selection of the prints] - $10


Random scraps of prints and solids; assorted sizes; fits in a priority flat-rate envelope - $14


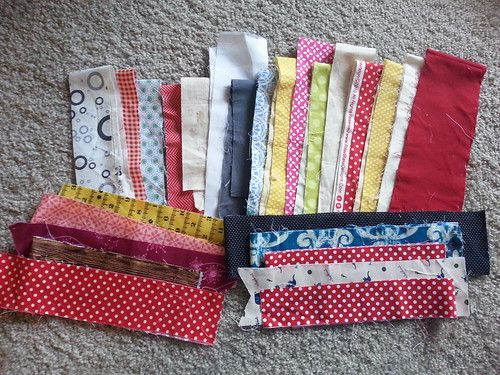
Strips of assorted widths and lengths; many are folded in the photo - 36 strips [I found 10 more after I took the photo!] - $7


3.5 inch squares in grays, greens, and blues - 110 squares total - $12


And to round it all out, I made a pillow cover using some linen blend dish towels I found on clearance at Target! I used one on the front and brought it up to size by adding a strip of Essex in Natural, and then I used another towel on the back. I need to make one more pillow in a great teal color to round out my couch collection of moss, mustard, cream, and then teal.


Do you also get the urge to clear out all your stuff every Spring?!