Tuesday, October 16, 2012

Birthday-palooza Extravaganza with Shenanigans!

*Um, there's still no pictures on yesterday's Schoolhouse Tunic post. Ask me how much I love technology. Trying to get my camera sorted out. Please don't give up on me just yet!

Ok ok, so the title of this post makes it sound like there's a marching band or something. Which maybe there is over here on my end!


This little blog is one year old as of last Friday!

[in no certain order] In one year of blogging I have:
  • Taught myself everything I know about quilting...I've never taken a class nor was I taught to sew by my mom/grandma/etc. I've soaked it all up through blogs and a lot of trial and error [mostly error]! Thanks, guys!
  • Spent hundreds of dollars on fabrics and notions and accessories for my sewing machine
  • Had a booth at a huuuge craft fair
  • Cursed a lot as I ripped millions of stitches out over the course of the year
  • Realized that I don't have a lot of patience for being bad at something
  • Accepted my first, and then additional, commissioned projects
  • Opened an Etsy shop
  • Created PDF embroidery and cross-stitch patterns
  • Started making my own clothing
  • Been hired to teach quilting classes at a LQS
  • Participated in 5 swaps so far
  • Encountered countless blank stares from people who don't get why a 23-year-old quilts
  • Conducted an apartment search based on the fact that I wanted/needed a room for my sewing to grow
  • Joined my first online sewing bee
  • Pulled 3 all-nighters to finish quilts for certain occasions
  • Been accepted to an e-zine and a newsstand magazine for my sewing/patterns
  • Decorated my apartment in more patchwork than should probably be allowed for 1000 sq ft
I'm pretty proud of what I've accomplished so far with this little random venture of mine and pretty excited to see where I have yet to go on this journey. I love having a useful hobby that isn't common among my friends. I love having a place online to connect with people who get it.

As a thank you for following along on this crazy ride I'd like to host a giveaway for a mini quilt, made by yours truly. This mini quilt will feature a block that I'm currently working into a pattern...it's a 24" block, so the mini will be a decent size. I'm not going to give any sneak peeks of the design, but it does involve curves and was completely inspired by The Sometimes Crafter's Retro Flowers quilt! The winner will get to choose the desired color scheme, and then I will have a month to make and ship the mini. Plus there might be some other goodies thrown in too :)
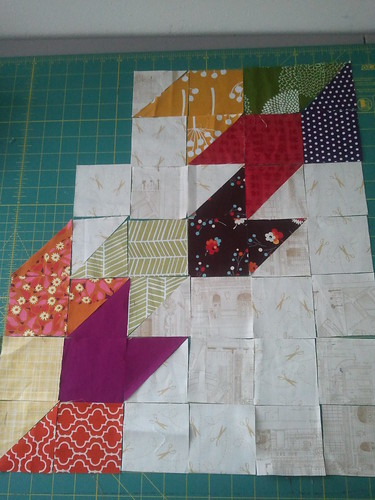
If this is something you're interested in, please leave a comment on this post by 12 pm EST Friday October 26th and I will randomly choose a winner. Open to anyone in the world.

Monday, October 15, 2012

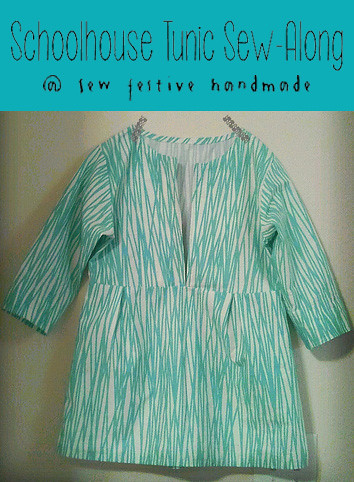
Schoolhouse Tunic Sew-Along: Bodice and Sleeve Assembly


Thanks for your patience with today's sew-along steps...this post doesn't have pictures yet. Still. Because there's a serious breakdown happening with my computer. But I figured I'd put up some words and then add in the pictures when I get to stop fighting with technology.

Let's dive right in :)
**Please read through entire post before doing any sewing!


We're assembling the bodice and sleeves today, and your Schoolhouse Tunic will start to becoming recognizable as a shirt! You will need to set aside the skirt front and skirt back pattern pieces for next week; we will be using all the other pieces today.


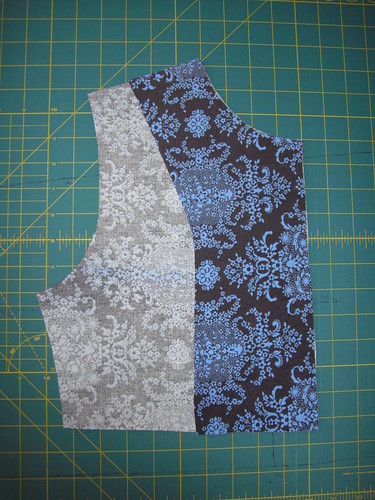
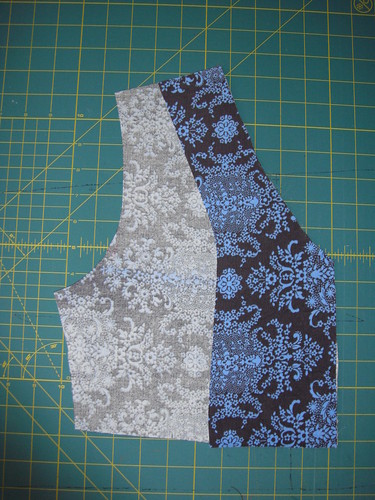
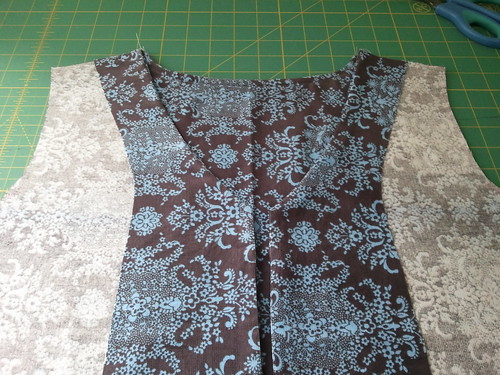
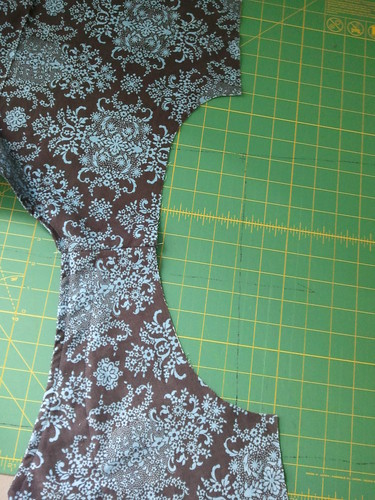
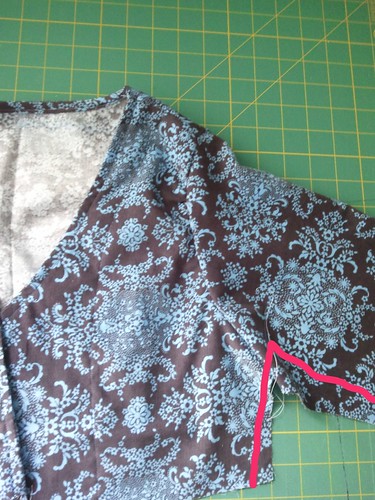
*Note: I altered the neckline of my bodice freehand with scissors by placing both bodice pieces and both placket pieces together and trimming away until I achieved a neckline that was less constricting. Because my neck is claustrophobic. The original neckline is shown above, altered version below.


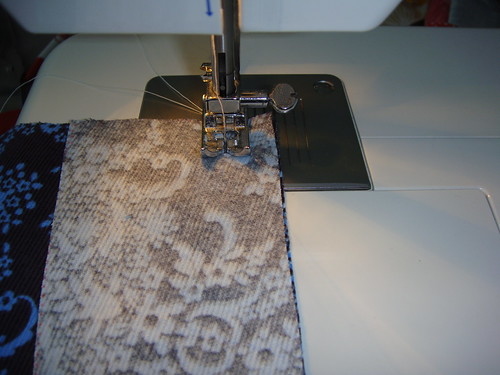
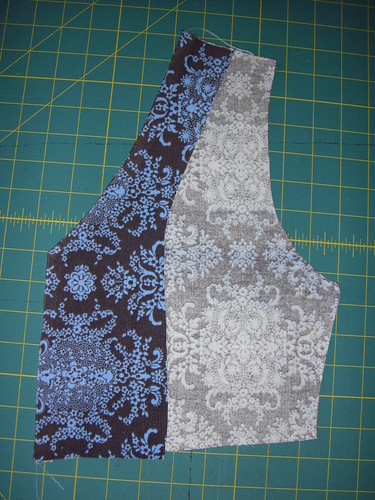
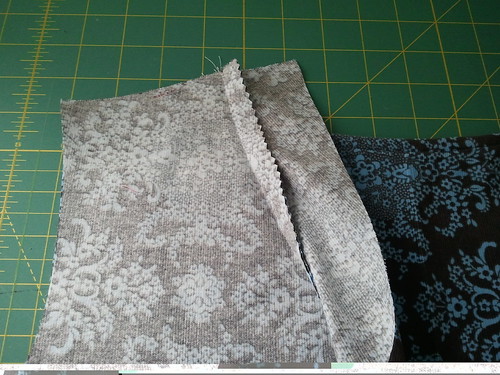
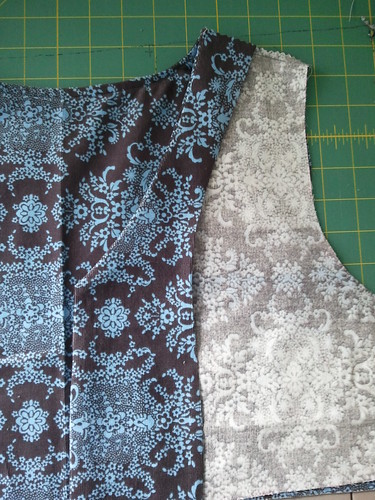
Place one of your bodice fronts and one of your plackets right sides together. Make sure you're using the correct placket for the bodice piece -- the curved edges of each should match up. Sew to the pointy piece of the bodice and then pivot [needle down, presser foot up] and sew the rest of that side. 


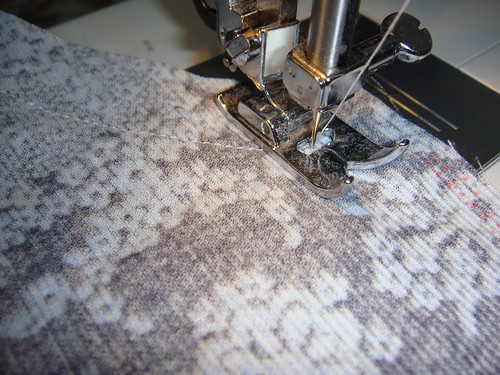
You will be sewing with a 5/8" seam allowance, which is weird for most quilters! My machine isn't all fancy and I can't move the position of the needle more than 1/8", so I just have to line up the edge of my fabric with the mark on my sewing machine plate. 


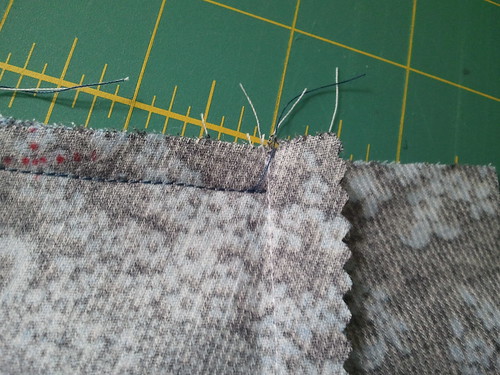
After you've sewn that seam you can finish the seam with pinking shears. I don't have a serger and this particular seam will be encased in the end anyways. I pink the edges just for extra peace of mind. You also want to clip that little pointy corner, just like you would clip the corner of a pillow cover. Turn the new front bodice piece right side out and press out the corner that you just clipped. Press your seams.


Do the same thing to the other front bodice and placket pieces!


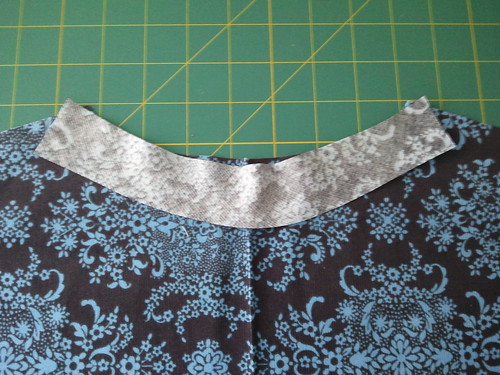
Now take your bodice back and your bias binding strip. I remember when I first made this pattern that I was so confused by this step. I've since determined that the diagram at this step is super unhelpful and confusing [or it was for me].


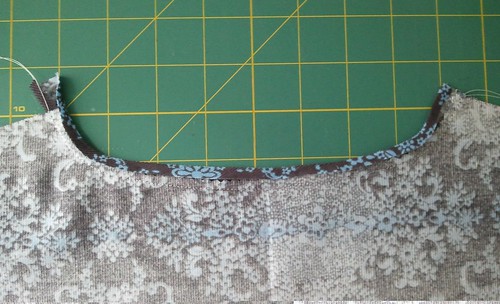
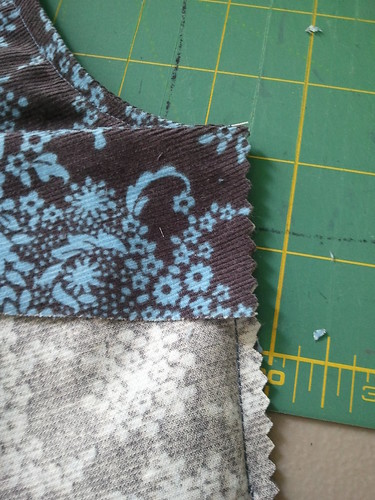
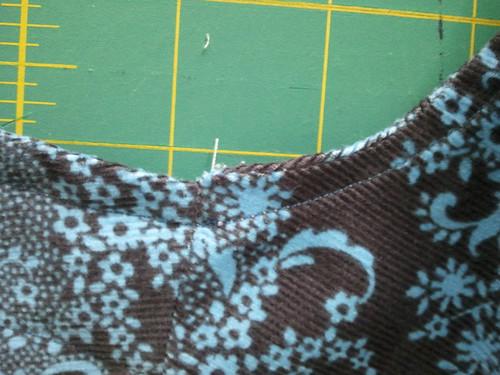
Pin the binding strip to the neckline of the back bodice piece, right sides together. You will line the top of the binding strip up with the neckline of the bodice. Sew with your 5/8" seam allowance, taking it slow around the curves. The diagram for this step shows what the inside of the bodice back looks like after you sew on the binding strip. It is NOT an indicator of how you should be sewing the binding strip on as indicated in the first sentence of step 3a.


Then trim the seam down to 1/4".


Press the raw edge of the binding in 1/4" and then fold and press another 1/4". At this point there should be no raw edges.


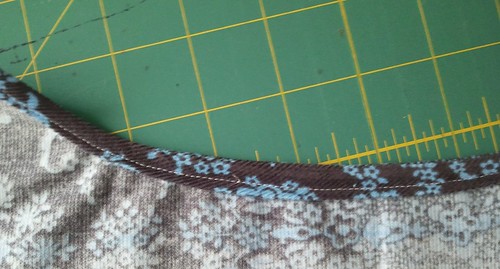
Topstitch the binding in place. At this point [and a couple other places] you want to think about what you want the topstitching to look like. You can try to blend, like I did for mine, or you can choose a contrasting thread for topstitching for a different look.


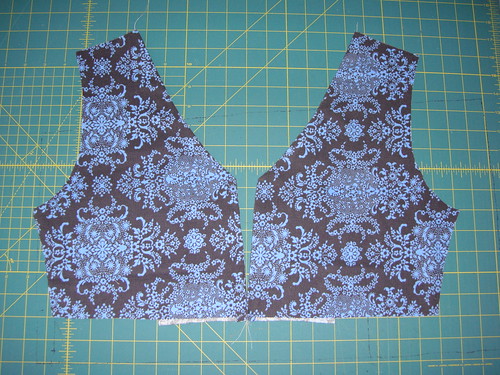
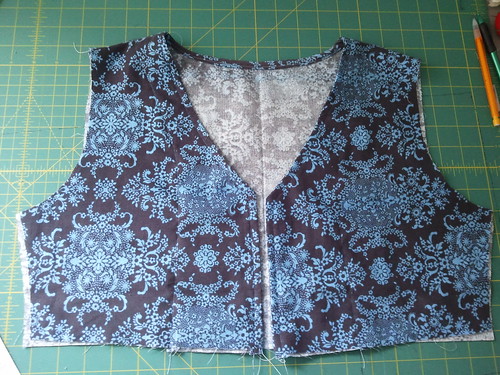
Lay the bodice back out flat with the right side facing up. Place each bodice front on top with right sides facing. You want to pull the loose flaps of the plackets out of the way and sew the shoulder seams. This particular seam is 1/4" so make sure you move your needle/your fabric over from what you've been doing! Make sure you end the shoulder seam on the seam from sewing the placket to the bodice.


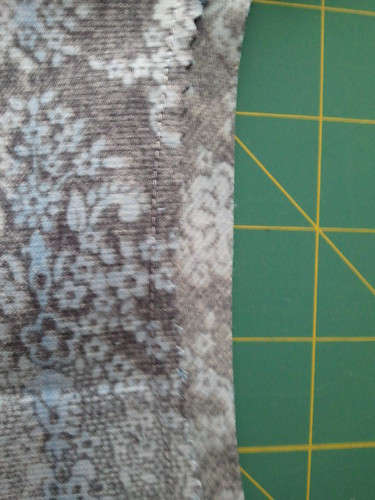
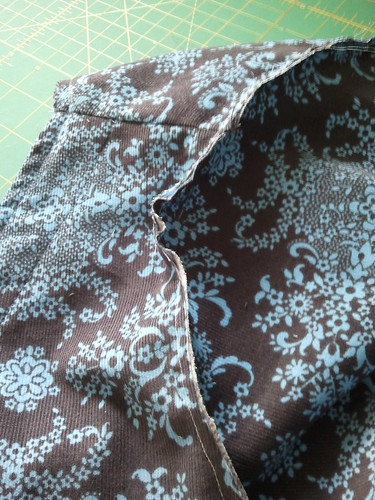
You can finish the seams with pinking shears again, or you can zig zag stitch them. Or you know, if you're fancy and have a serger then you can use that. Now, if you're feeling adventurous you might want to finish all seams with a French seam. I wanted to show a variety of seam finishes in my pictures, so I didn't do that here, but you can certainly choose that option! To do a French seam at the shoulders, you will need to finish the edges of the placket first [so follow the steps below in the Finishing the Bodice stage of the instructions] by turning them under 1/4" and topstitching. You will then put the shoulder seams WRONG sides together, and stitch 1/8", turn right sides together, press seams flat, and stitch 1/8" again.
BGHgv`


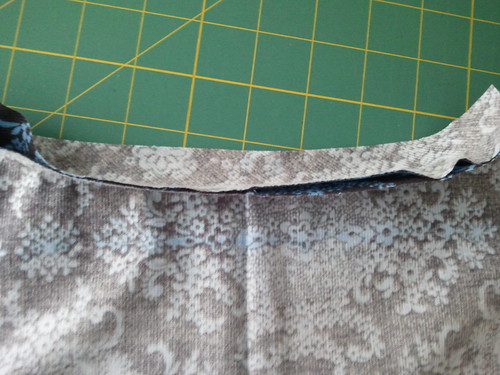
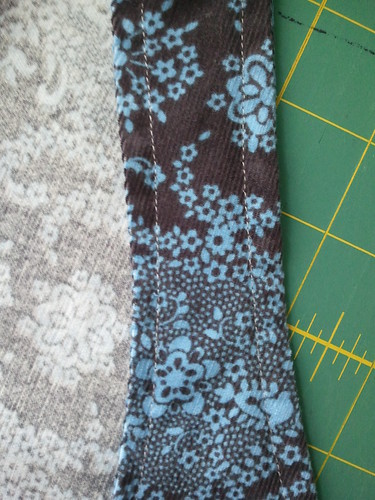
To finish the bodice you will need to turn the raw edges of the placket under 1/4". Topstitch along the side of the placket that is closest to the sides first. I topstitched 1/8" [ish] away from the edge of the placket. 


Then topstitch the other side of the placket 1/4" from the edge, going all the way around the back of the neck. I actually matched my stitching up with the stitch line from the neckline binding, but Meg suggests that you double-stitch the back neckline for extra stability. I just like the look of a single line of stitching better, and I can certainly add another line of stitches if necessary in the future. 


On to the sleeves! You're doing great! 


I actually completely skip step 6a, so yay! Why? I've never had a sleeve that didn't fit in the bodice armholes! I remember doing all the gathering with my first tunic, and then I was so annoyed because it made the sleeve too small. You can certainly do the gathering, but before you spend all that time, perhaps pin the sleeve into the armhole and see if it's necessary.


You can follow the sleeve steps as instructed in the pattern and then trim the seams with pinking shears or finish them with a zigzag stitch. I was all about the French seams because I've never done them on a sleeve before.


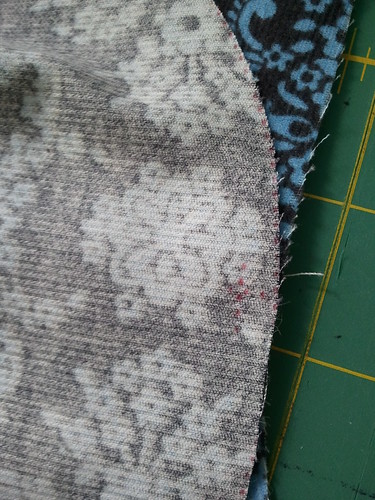
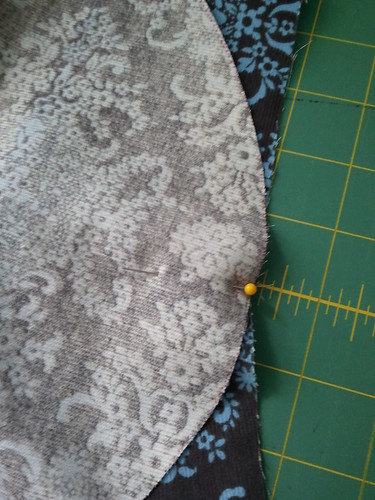
Place the sleeve wrong sides together and pin the marking on the sleeve indicating the middle into the shoulder seam of the bodice. Sew a 1/4" seam, taking your time around the curves. Press the seam flat and then sew a 3/8" seam allowance to encase all raw edges.


Sew the side seams of the bodice together by either sewing a 5/8" seam right sides together and pinking/zigzagging or French seam it using the same process used for the sleeves. You want the sleeve seam to match up under the arm. Mine was off a smidge, but it's hard to tell with my print.


Hey! You have a bodice! This is so exciting! Also, this was the hard week of sewing. It's so easy here on out!


I myself will be altering my bodice this week. I'm going to let out the sleeves a bit to get a fit I like a little more for long sleeves. Which leads me to something I want to touch on -- what if it doesn't fit?!


First of all, you can try it on as you're sewing. I recommend it! What can you do if it's too small but you already cut your pieces out? You can then sew all the seams with 1/4" instead of 5/8", which will provide you with over half an inch all around of extra ease. That's what I'll be doing at my sleeve seams to give me some more wiggle room, as the corduroy is a bit bulkier in that area than I anticipated. If you're a little worried about your bodice being a bit snug then I might recommend that you not sew French seams because they are a pain to adjust! 


As always, let me know if you have any questions and I'll see you back here next Monday :)

Sunday, October 14, 2012

These are a few of my favorite things [from the past week]

I've just got one for you today:

The first* of my magazine projects is out in stores!


I haven't received my copy of Stitch Gifts 2012 quite yet, but it should arrive soon! And then I can show more pictures! But the pattern templates are already up on their website. Scandinavian-inspired stockings with simple embroidery and French seams? Yes, please.


*Yep, I said first. You're right, that does imply more projects. You're right again, I am trying to be tricksy and share my news without sharing my news ;)

Wednesday, October 10, 2012

WIP Wednesday...when there's not a lot to show

I feel like I haven't actually quilted in forever. It makes me really sad. So tonight after work I'm sitting down and sewing, no matter what!


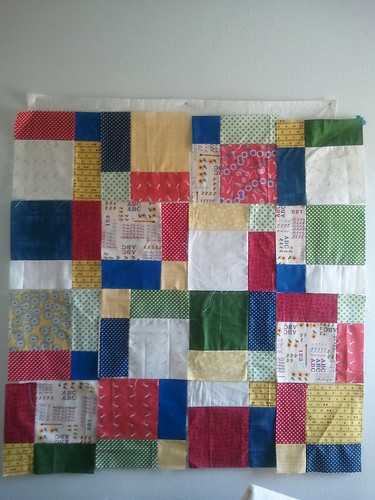
I'm still plugging away at the disappearing nine patch. This is half the blocks that I need. It gets better the more cream-colored blocks that go in [I think?], so I think the other half of the blocks will have a cream square in every block.


Then there's my PTS9 project. I'm hand-sewing rose star blocks whenever I get a moment, but I'm an epically slow hand-sewer, and my whipstitch is a little visible sometimes. So I'm going to keep working on that, but I also want to do a pillow cover that is machine pieced so my partner can pick which she likes best. This was a design that I put up in the group Flickr that the overwhelming majority of people liked.


Except I'm not sure it has enough zing. Good thing that as I was contemplating these fabrics last night, a million and one design ideas came to me! That will be part of the sewing I do tonight, hooray!

So later this week when it's my one-year bloggy-versary, I think we'll have a giveaway for a pillow cover made by yours truly :)

*Linked over at WIP Wednesday for the first time in forever!

Sunday, October 7, 2012

Schoolhouse Tunic Sew-Along: Sizing and Cutting Your Fabric


Yay it's here! Day 1 of the Schoolhouse Tunic Sew-Along! Hopefully you have your fabric pre-washed and your pattern in hand. If not, go do that and come back!

**Please make sure to read the post in its entirety before cutting into your fabric!

So let's start out by talking about the sizing of the Schoolhouse Tunic. One of the reasons that this is a great starter pattern is because it is not a really form-fitting garment, so you have a little wiggle room as far as sizing goes!

The pattern sizes run from XS to XL. There are 4 different measurements listed to help determine which size to cut. Make sure to measure yourself in your undergarments or have someone else measure you if you're concerned that you can't do it accurately yourself. Are you a quilter and don't have a tape measure? Not a problem! Use string or ribbon to measure, and then measure the ribbon with your rulers or cutting mat. 

What to do if you fall in between sizes? Choose the larger size. You can always take seams in if it's too big, but there's not too much you can do if it's too small! What size do you choose if, for instance, your bust is a size small but your waist is a size medium? You have a couple options. You can cut all the bodice pieces in a size small and then grade the skirt pieces from a small at the top to a medium. What I would recommend in this case is to cut the size based on your bust measurement, as that is the only area of the body that the tunic is really fitted, and the skirt portion has lots of ease. [Ease is the amount of space built into the pattern for actually wearing the garment...it's literally the "wiggle room"]. The only time that this might not be the best advice is if you are very petite in the bust area but have very wide hips.

Ok! So you know what size to cut. Now comes the exciting part...cutting your pattern out of your chosen fabric!


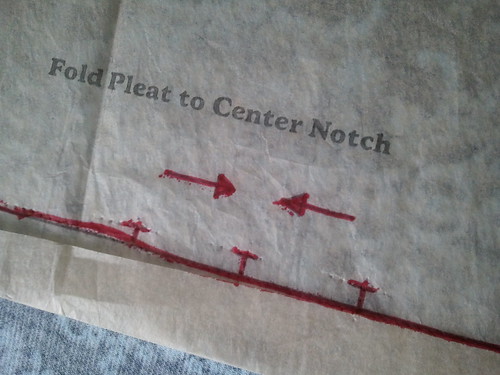
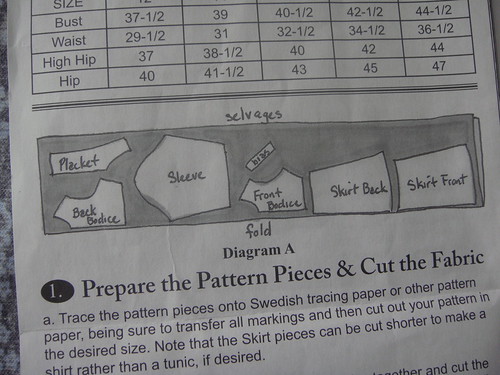
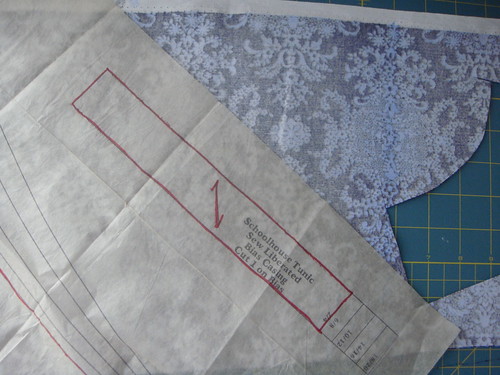
Your pattern pieces come on two large tissue sheets. What the heck do we do with those things?! You can follow the instructions in the pattern and trace your desired size onto Swedish tracing paper. If you choose to do this, make sure to transfer all markings from the original pattern to your copies. When I first made this pattern I traced the pieces onto pattern paper from an old McCall's pattern I knew I'd never use, and then cut the pieces out. Then I simply cut around the pattern pieces on my fabric.


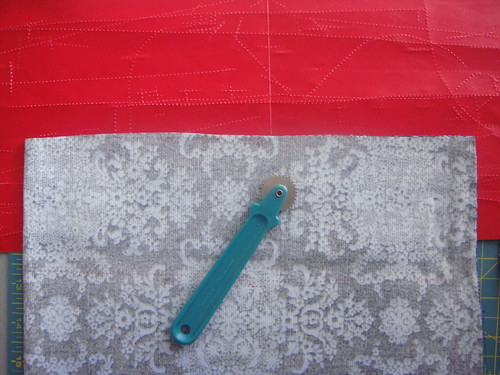
Now I use Dritz tracing paper and a tracing wheel for transferring the pattern pieces to my fabrics. I find that it's more precise and requires less work then having to make a second set of pattern pieces. 

No matter which method you choose, you need to fold your fabric right sides together so that the selvages are laying together. Place the fabric on your cutting mat with the fold closest to your and the selvages laying along the top. PS, if your fabric is super wrinkly after pre-washing then you need to iron it prior to folding!


If this is your first time making this pattern and you are unsure whether you have enough fabric, I'd recommend laying all the pattern pieces out, or tracing all of them before doing any cutting. This will also help with figuring out placement, even though Meg provides a drawing in the pattern of an optimal layout of the pieces. I like to lay out all the pattern pieces that require placement on the fold, since you can't really finagle those if you start running out of fabric. Once I know that all my pattern pieces will fit, I like to only work with the amount of fabric that fits on my cutting mat. 


The arrows in the center of each pattern piece needs to be parallel to the selvage when tracing and cutting. The casing is the only piece that needs to be cut on the bias.


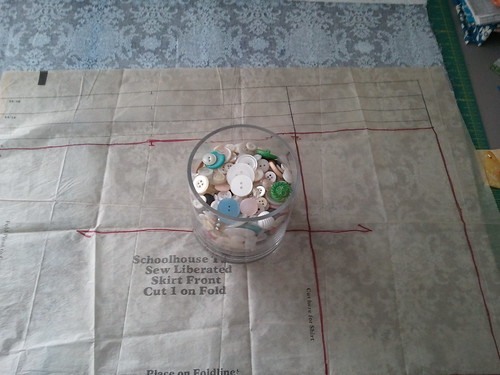
Each time you trace or cut a pattern piece out you need to weigh down the pattern paper. You don't want to pin it to the fabric because then it warps the pattern lines. Use weights, like a jar of buttons, cans from your pantry, heavy washers, etc. This keeps the paper from shifting as you trace. Once you trace your pattern piece, you don't want to shift the fabric around either.


Another reason that I really love using tracing paper to transfer the pattern is because it's super easy to transfer the pattern markings. If you're just cutting around the pattern pieces then you have to find another way to transfer the markings, such as making pin holes and then using chalk. With the tracing paper you just have to run the tracing wheel over the marks.


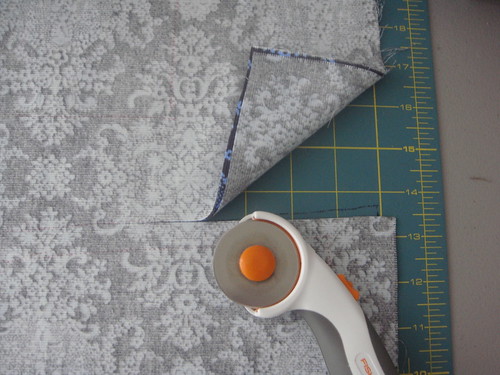
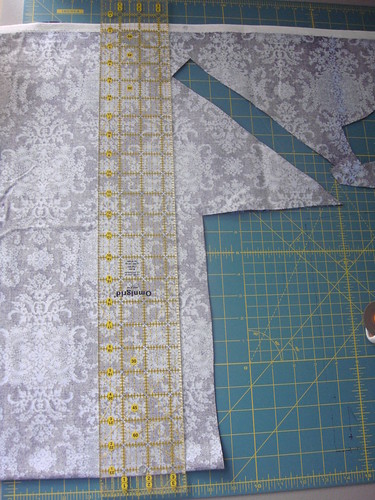
When it's time to cut out the pattern pieces there are a couple tips and tricks to be as successful as possible. The first is to use a rotary cutter! So quilters have a leg up on this. You don't want the two layers of fabric to move at all when cutting, so a rotary cutter is instrumental in this. Press the rotary cutter down into the fabric when starting to cut, instead of rolling into it, to avoid fabric shifting. I like to pull the rotary cutter toward me, as I feel I have more control around curves and such. You can also use a ruler to cut along straight lines.


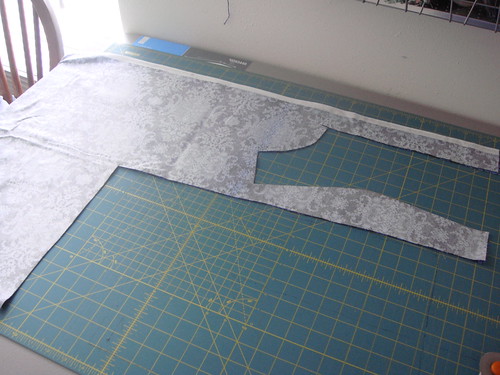
You need to move around the fabric instead of moving the fabric itself. I've put myself in some pretty weird positions at my sewing table so that I could reach a side of a pattern piece without disturbing the fabric. I would also recommend not pulling any fabric away until you've cut around all sides. Also, in the above picture I cut the back skirt, then without moving the whole fabric piece, I cut out the placket.


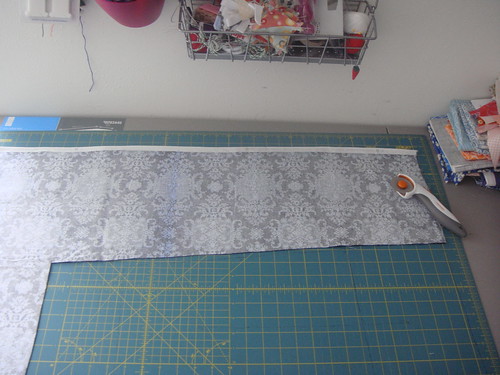
At this point I was able to trim the fabric evenly on the edge, move it over, and continue tracing and cutting out pattern pieces.


There's one last important step in preparing the fabric pieces! As you trace the pieces, you've been transferring the markings. But the majority of the pattern pieces are either cut on the fold or are two pieces. So the other side of the pattern needs the markings! If you use tracing paper, the easiest way to accomplish marking the other side of the fabric is to lay the tracing paper right side up and lay the fabric over it. Then run the tracing wheel over the marks that you made on the front side of the pattern. Voila!


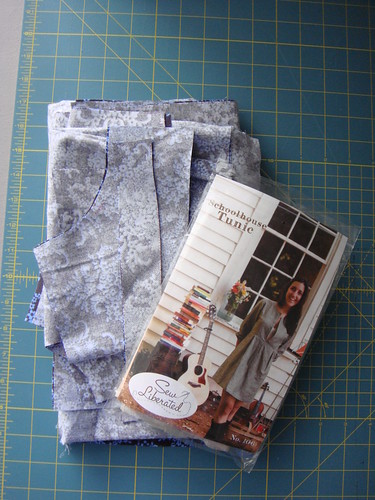
Mark each pattern piece with a little piece of paper and pin it to the fabric so that you can easily identify the pieces for next week. Then stack it all up and pat yourself on the back for being one step closer to a handmade garment!


**Important things to consider when tracing and cutting the pattern:

-My instructions were based on tracing the pattern as is.
-On my pattern I lengthened the skirt pieces to be dress length, and the sleeve pieces to be almost long sleeved. To do this, first make sure that you will be able to fit additional length into your cut of fabric. It's very upsetting to lengthen the skirt pieces and then realize you don't have enough fabric to cut out the sleeves. To determine how long I needed the skirt to be for a dress, I held the tissue pattern piece up to myself to see where it hit. I drew a line about 5 inches below the end of the tunic length, and then used a ruler to match up the side pieces with the hem, making sure to continue the slight A-line shape of the skirt. I'm about 5'2 and the skirt now hits at the middle of my knee with a fairly deep hem. This is the same method I used on the sleeves [to add length you re-draw the line on the flat side of the sleeve piece; the curved side is the shoulder].
-If you want your tunic to be sleeveless, just leave off the sleeve pattern pieces. You will then need to finish your armholes with double-fold bias binding, which we will discuss later, so make sure you either have enough fabric left over to make some binding, or find a suitable additional fabric to use.
-Other alterations can be made as we go along. I'll be putting some of those alterations in another post, including changing the neckline and variations on finishing the bottoms of the sleeves.

Please, please ask any questions you may have, and if it's something that other people can learn from then I'll answer it in the comments!

See you next week for assembling the bodice pieces and sleeves :)